
I altered this bridesmaid gown for Emily (she stands at the right of the bride) in the first pic) I hemmed 3 layers and partially took in the sides. Thank you Emily for choosing me and for sharing these beautiful pics!
Since I've already done a video tutorial on hemming a chiffon gown, I decided to do this one only on partially taking in the sides of the gown that has boning.
Emily is to the left.

Here is the gown before the alterations. It was too loose
under her arms, however it fit her at the waist. My plan was to take in the sides, tapering the
alteration down to the waist. This way
the waist size will not change.
Close up of the other side.
We need to take in a total of 1"
I always write up little work instruction diagrams. It helps me in case pins move or fall out. I just like to see what I have to do before I do it. This also shows exactly where the alteration will be on the
sides.
I turned the dress inside out to reveal the
inside where the boning is.
I start by ripping out the first couple of stitches with my
seam ripper.
I finished ripping the rest with my razor blade. I love this little tool, it works so quickly.
I began to rip the lining from the chiffon where the hanger
loop is. There’s always a possibility of
forgetting to put back the hanger loop, but I found that marking the spot with
a tiny safety pin reminds me to put it back in place.
I pulled the loop through.
I pulled apart the chiffon from the lining as far as I could.
I marked the alteration with my standard pencil.
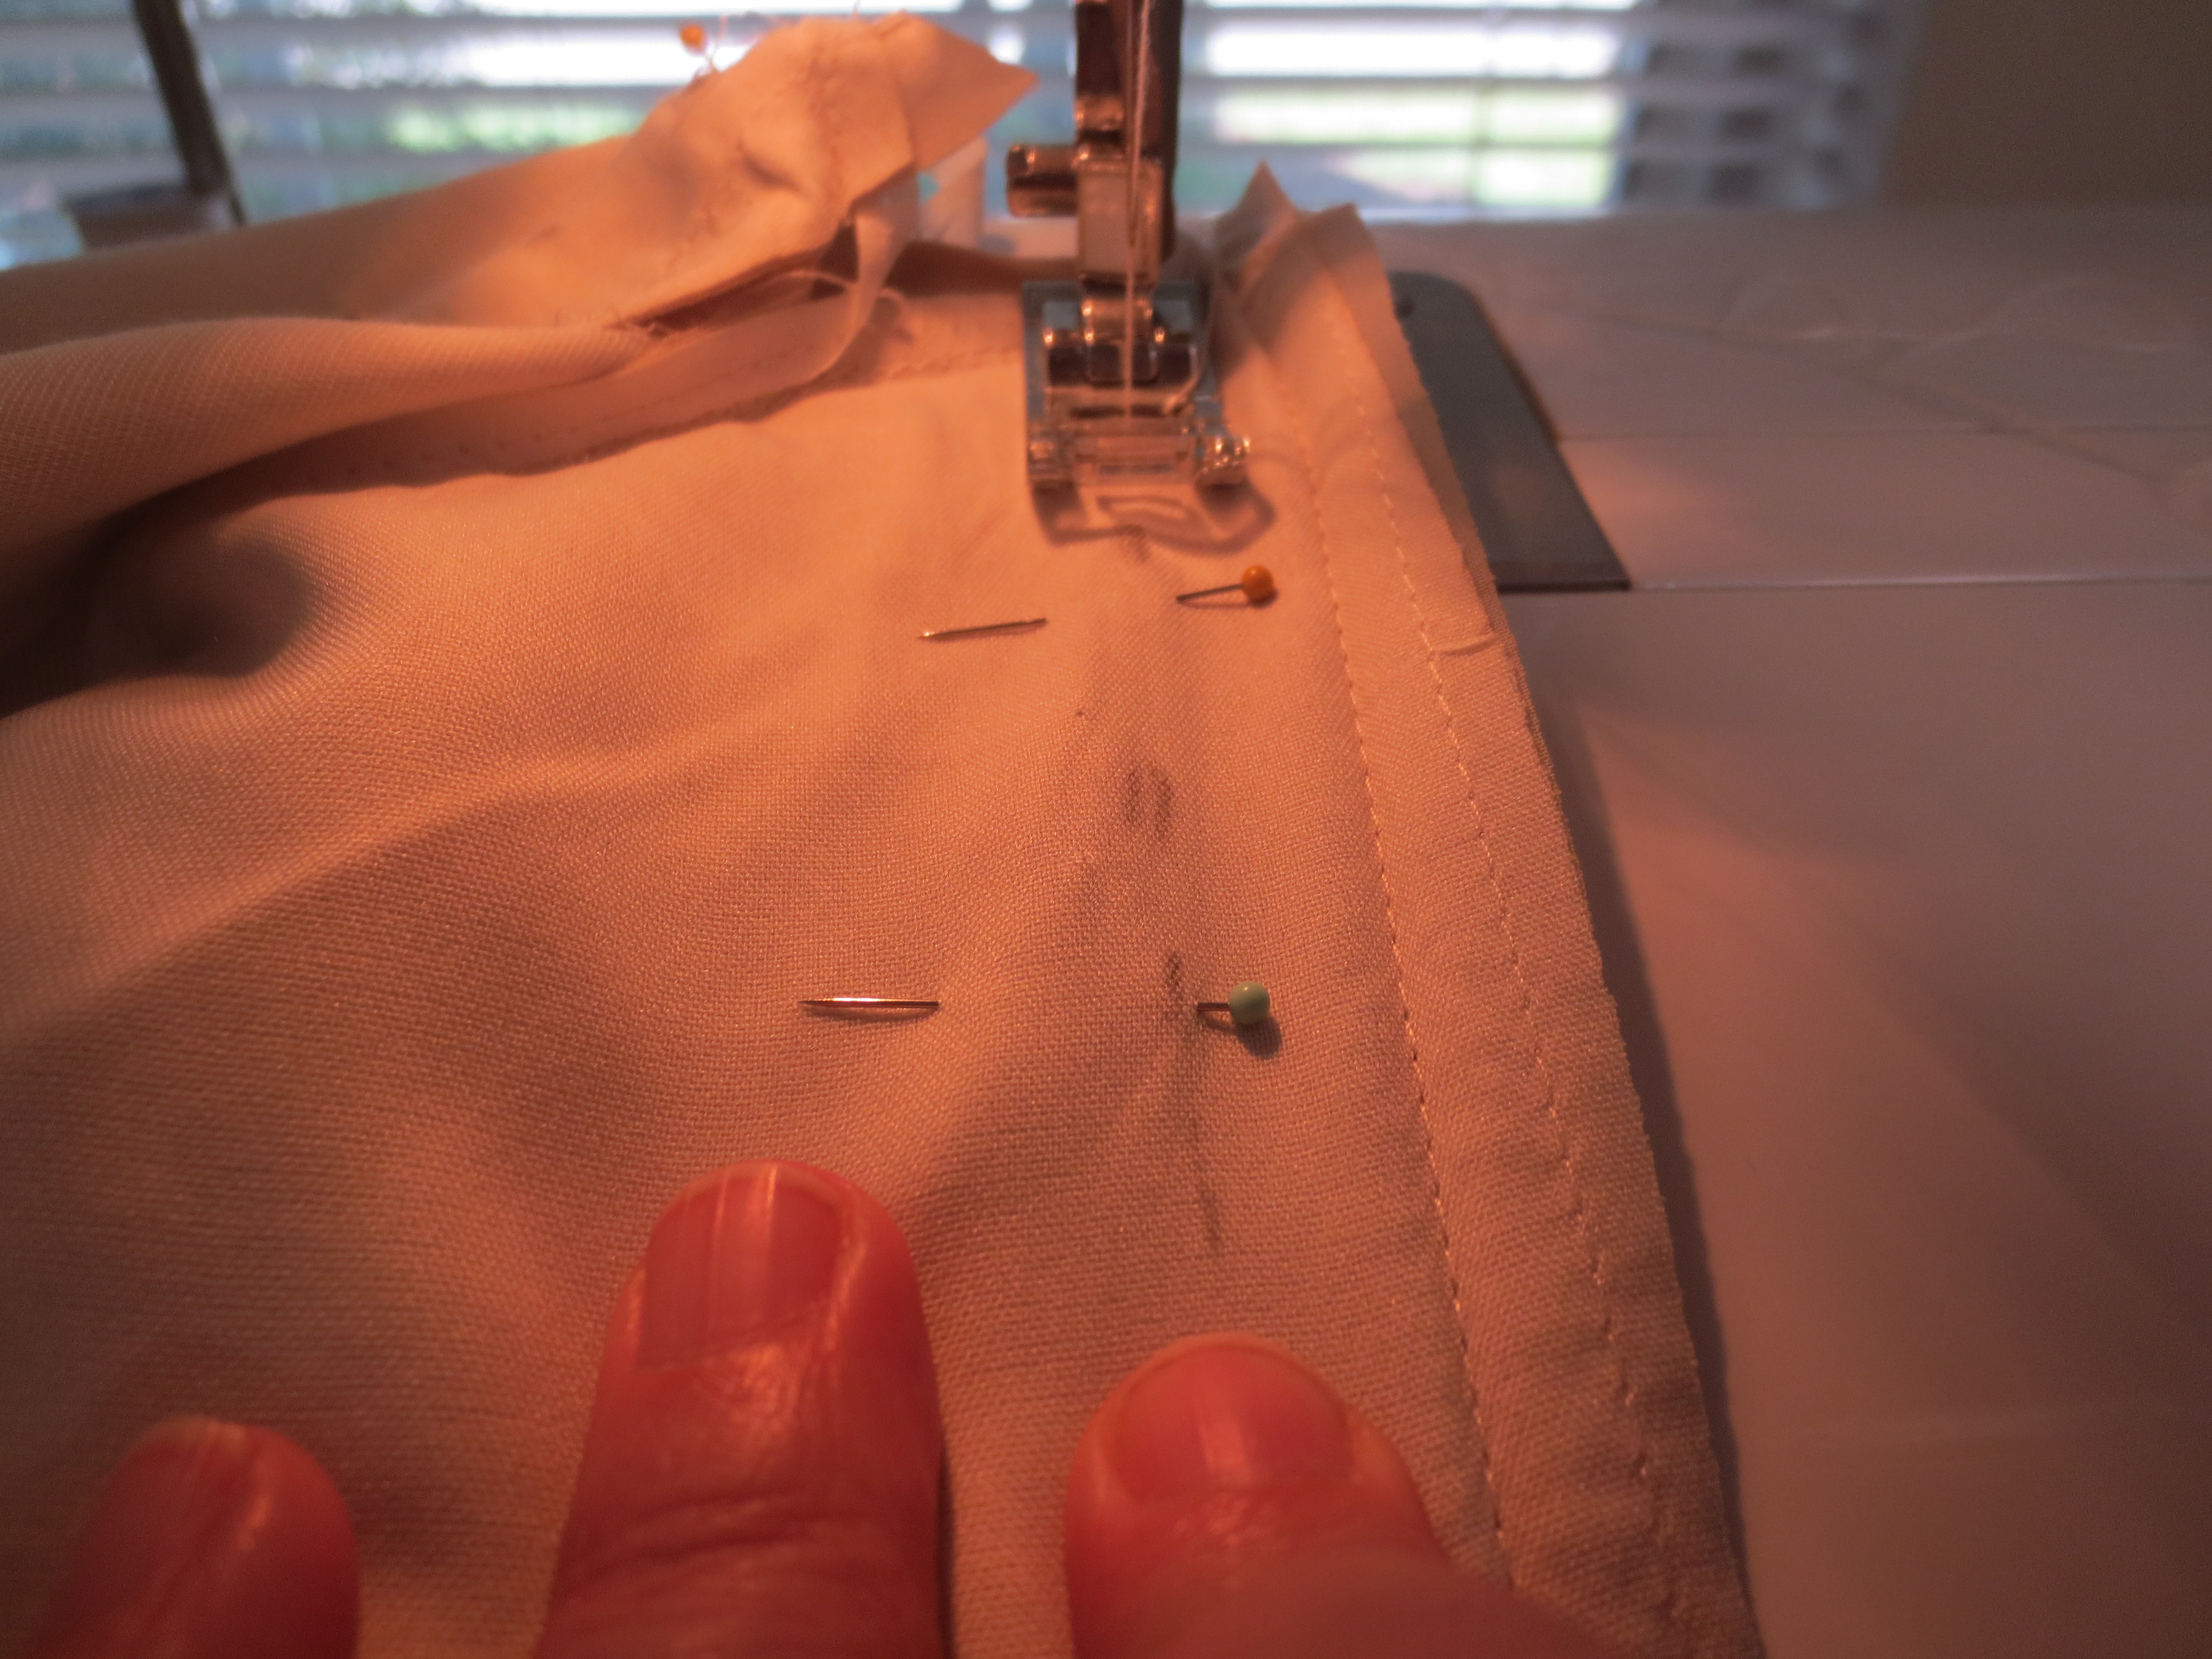
I started to sew with a straight stitch on marks all the way
down to the taper point. I back stitched a few stitches at the taper point and original
stitching. I did this to both the chiffon and the lining. Since I was only taking in a
small amount, I didn’t find it necessary to cut the excess fabric. This can be helpful if the dress needed to be let
out.
I gave the new seams a good press with my iron. I always use a press cloth over the seam and
my seam roll underneath.
Now it was time to put back the boning near the seam. I stitched it down with a few rows of
stitching. The boning goes back onto the lining where it originally was.
Stitched the boning piece down a little more at the edges.
Turned the lining to the right side to stitch a row of parallel stitches to secure the boning.
Stitched back the little seam binding piece. I hand sewed since this was a tiny area.
I stitched down the hanger loop back in its place before
sewing everything back together. I
simply sewed a couple stitches near the raw edge to keep the ribbon from moving
out of place.
Since there is a ruffle where the alteration took
place, I did not have to alter this very
much since I only took in 1 inch. I
gathered an inch of the ruffle at the raw edge and stitched in place.
I stitched the opening of the lining, chiffon, and ruffle
back in place.
I turned the gown right side out and under stitched at the edge
of the lining.
Finished under stitching.
Here's what the ruffle looks like under the arm now. There's only a little bit of gathering.
Finished! Here’s a side
view on my dress form.
Back view.
Front view.
Next are all the pics Emily sent me from the wedding. Everyone looks amazing! In the next two pics, Emily is to the right of the bride. The other pics are at the reception, looks like they all had a wonderful time! I appreciate Emily sharing these beautiful pics of the special day with me, thank you! I hope you enjoyed this post and found it helpful if you ever needed to do these alterations yourself.
Have a great day!


Post a Comment