

Sometimes the inevitable happens, your nicest throw pillows on the sofa get chewed up by your best furry friend. When I first glanced at these pillows, I thought to myself, how will I fix this damage? The piping was exposed and some of it was missing. There were holes and no way to join the fabric together. I would need to extra fabric to mend the damage. Since there was no extra fabric for these pillows and I didn’t want to just throw any kind of fabric on them, I used something else.
I decided to use strips of the fabric from the seam allowance
inside the pillowcases. I cut as many
strips as I could, stitched the strips together, and pressed fusible interfacing underneath the strips to
reinforce. The end result was a long and wide strip of “repair”
fabric I could use to fix the holes and piping.

Before and after of the worst corner damage.


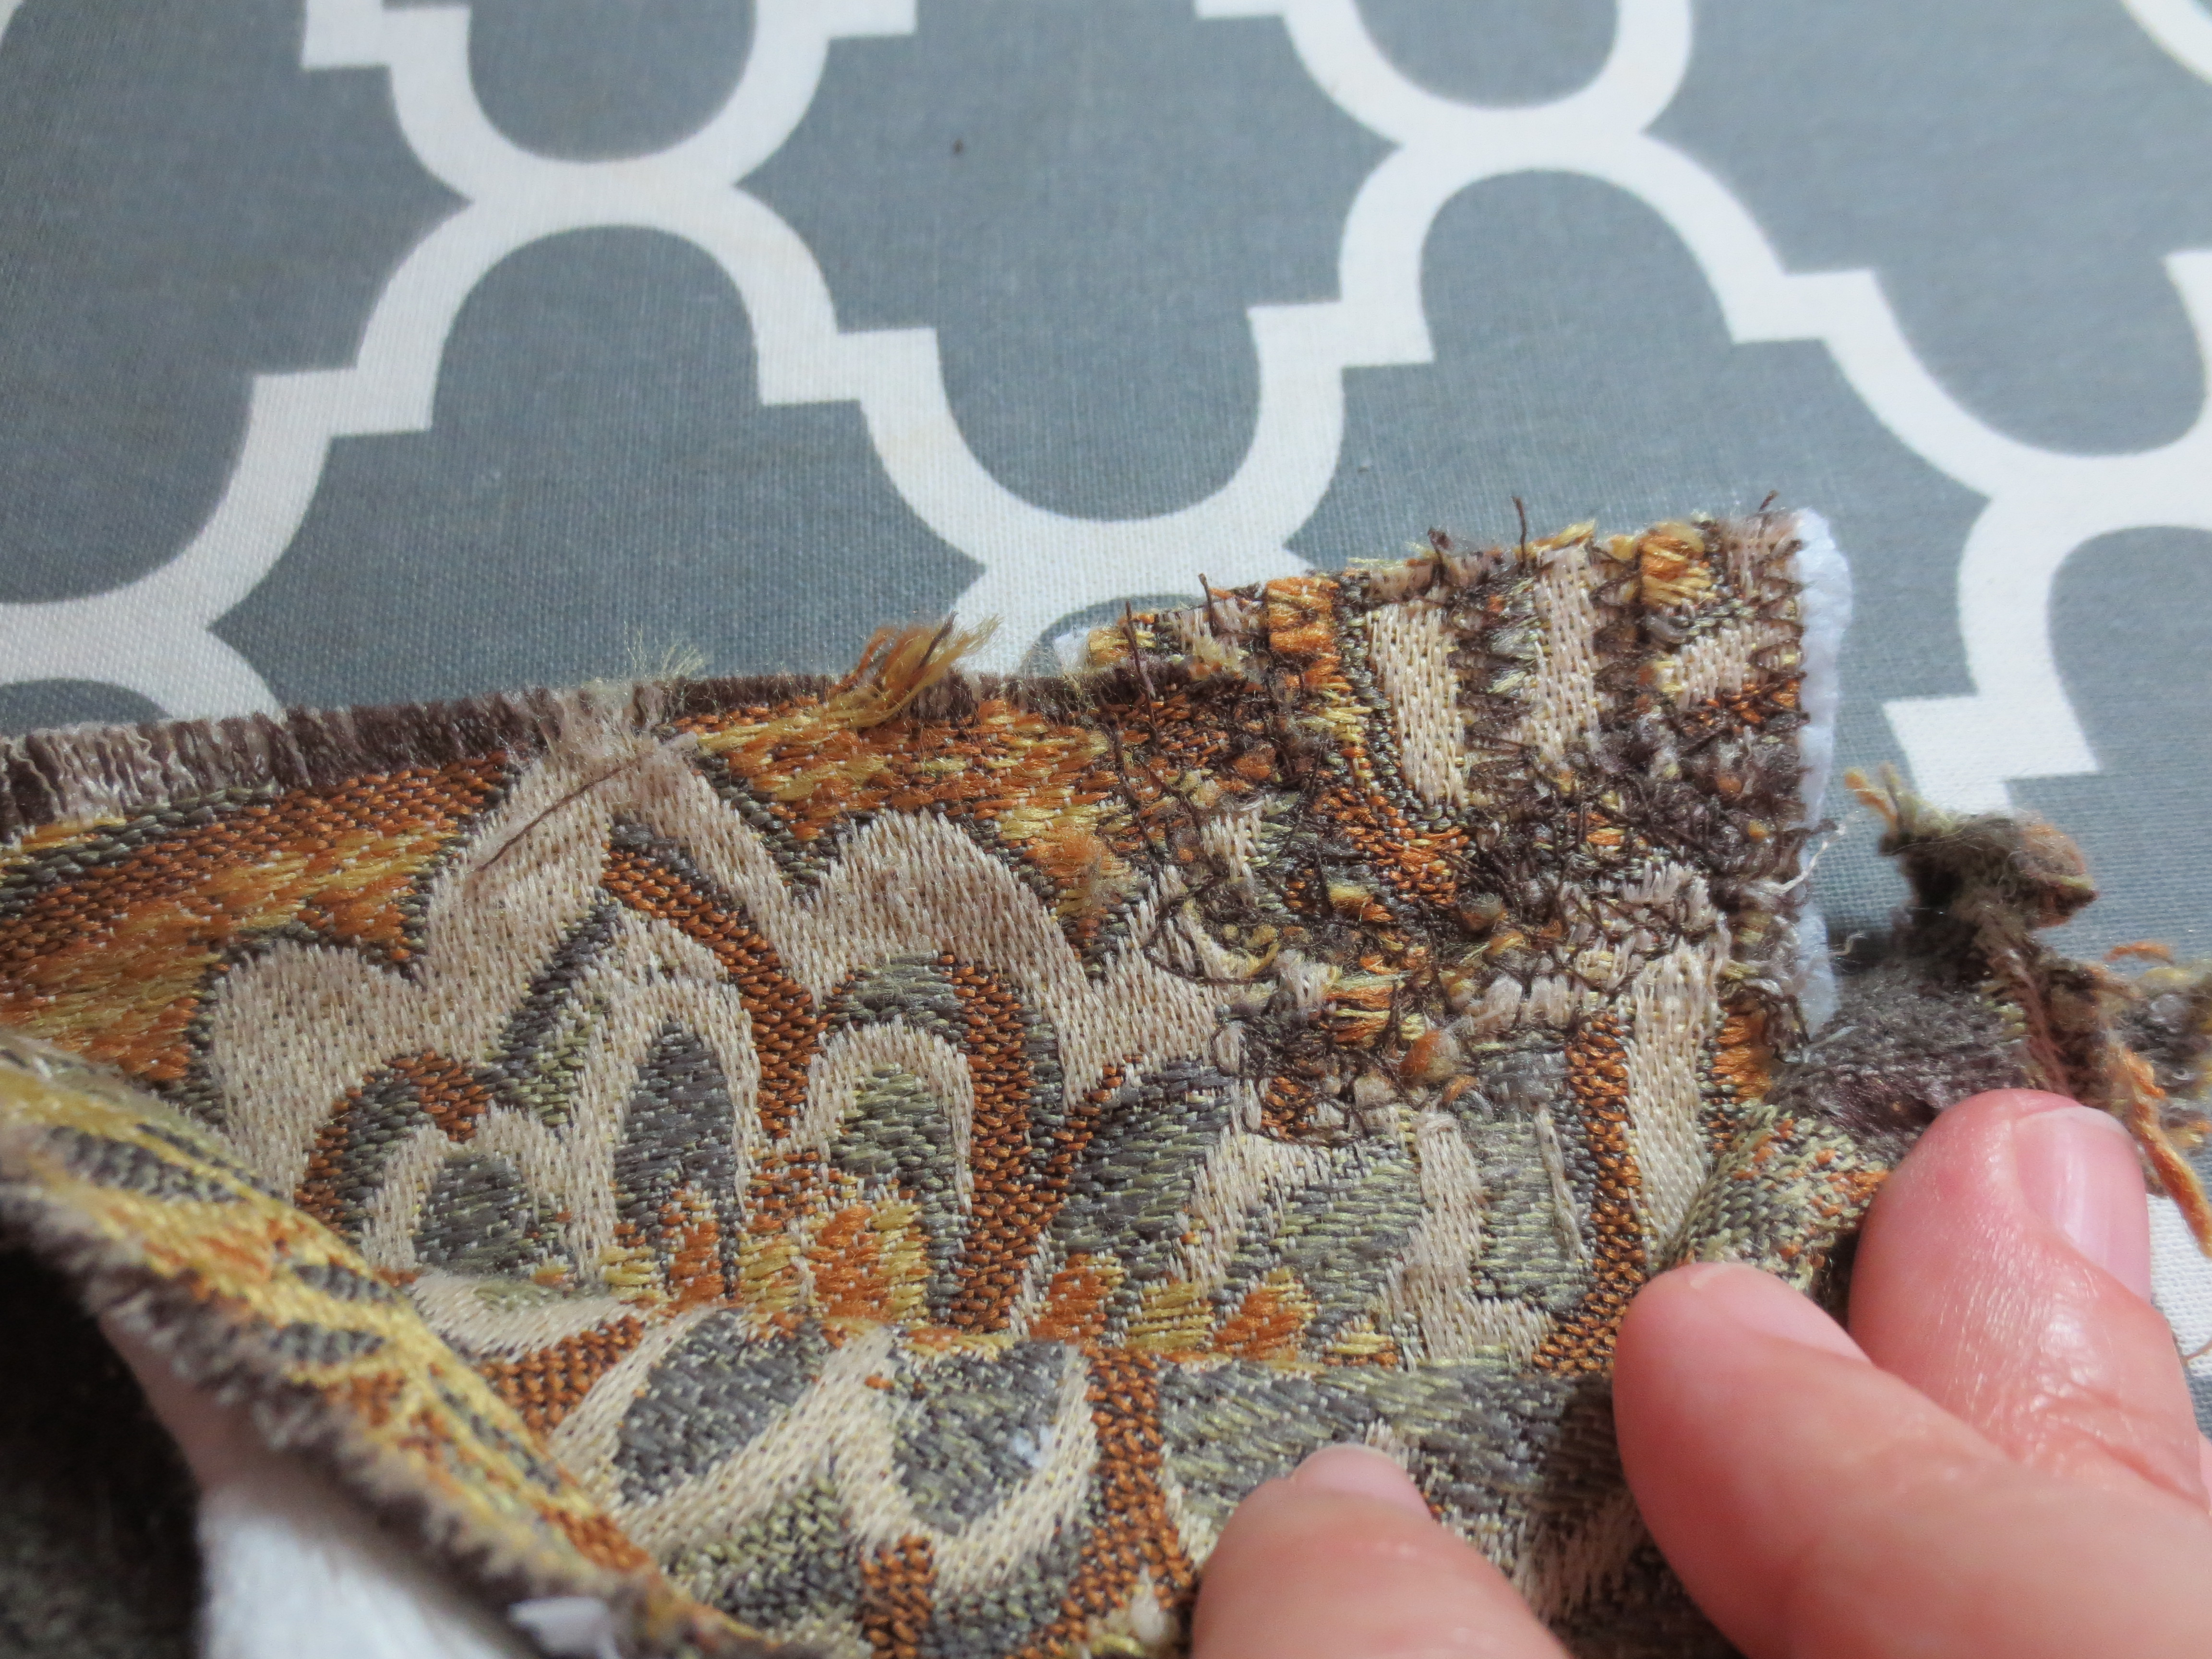
Here are the strips I cut from the seam allowance. They came from the inside of the pillowcase. I cut as close as I could to the stitching. I wanted to get as much fabric as I could.

I started by zig zag stitching the strips together. I put them together edge to edge, no
overlapping.

Here’s my last strip I’m adding.

I now took my wide strip of fabric I made and ironed on some
fusible interfacing to the back or wrong side of the fabric. This will help reinforce and strengthen the
strip.

I zig zag stitched the wide strip to the interfacing to
strengthen it even more. I didn’t want to
risk anything falling apart.


I changed over to my darning foot so I can perform free motion stitching.


Here, I cut away the excess. Now, I have an extension piece
attached.


On this piece of cording, I noticed it was too short because
it was chewed away by the puppy.

I didn’t have cording on hand, so I took a piece of cotton
ribbon and started to wrap it around the end of the cord. You can always use alternative materials that
add the same amount of bulk.

Wrapping it around the cord…


Stitched the piping near the cording.

Stitched the piping back into place. I had to switch over to a zipper foot because
this was thick piping. I took the pic
before all of this – I thought to myself, I could really use my zipper foot,
this is too hard with the standard foot! 😬

Here you can see I overlapped the piping piece ends. My plan is to sew them together, so they are
joined, yet overlapped. I’ve seen this with some pillows before. This was the corner with the most damage.

I am now using the zipper foot to sew the edges down with
the piping underneath. There was a lot of
heavy fabric here. I needed a heavy duty
needle and steady hands.


I hope you found this tutorial helpful! Thanks again for
stopping by!
😉🧵💖


Post a Comment