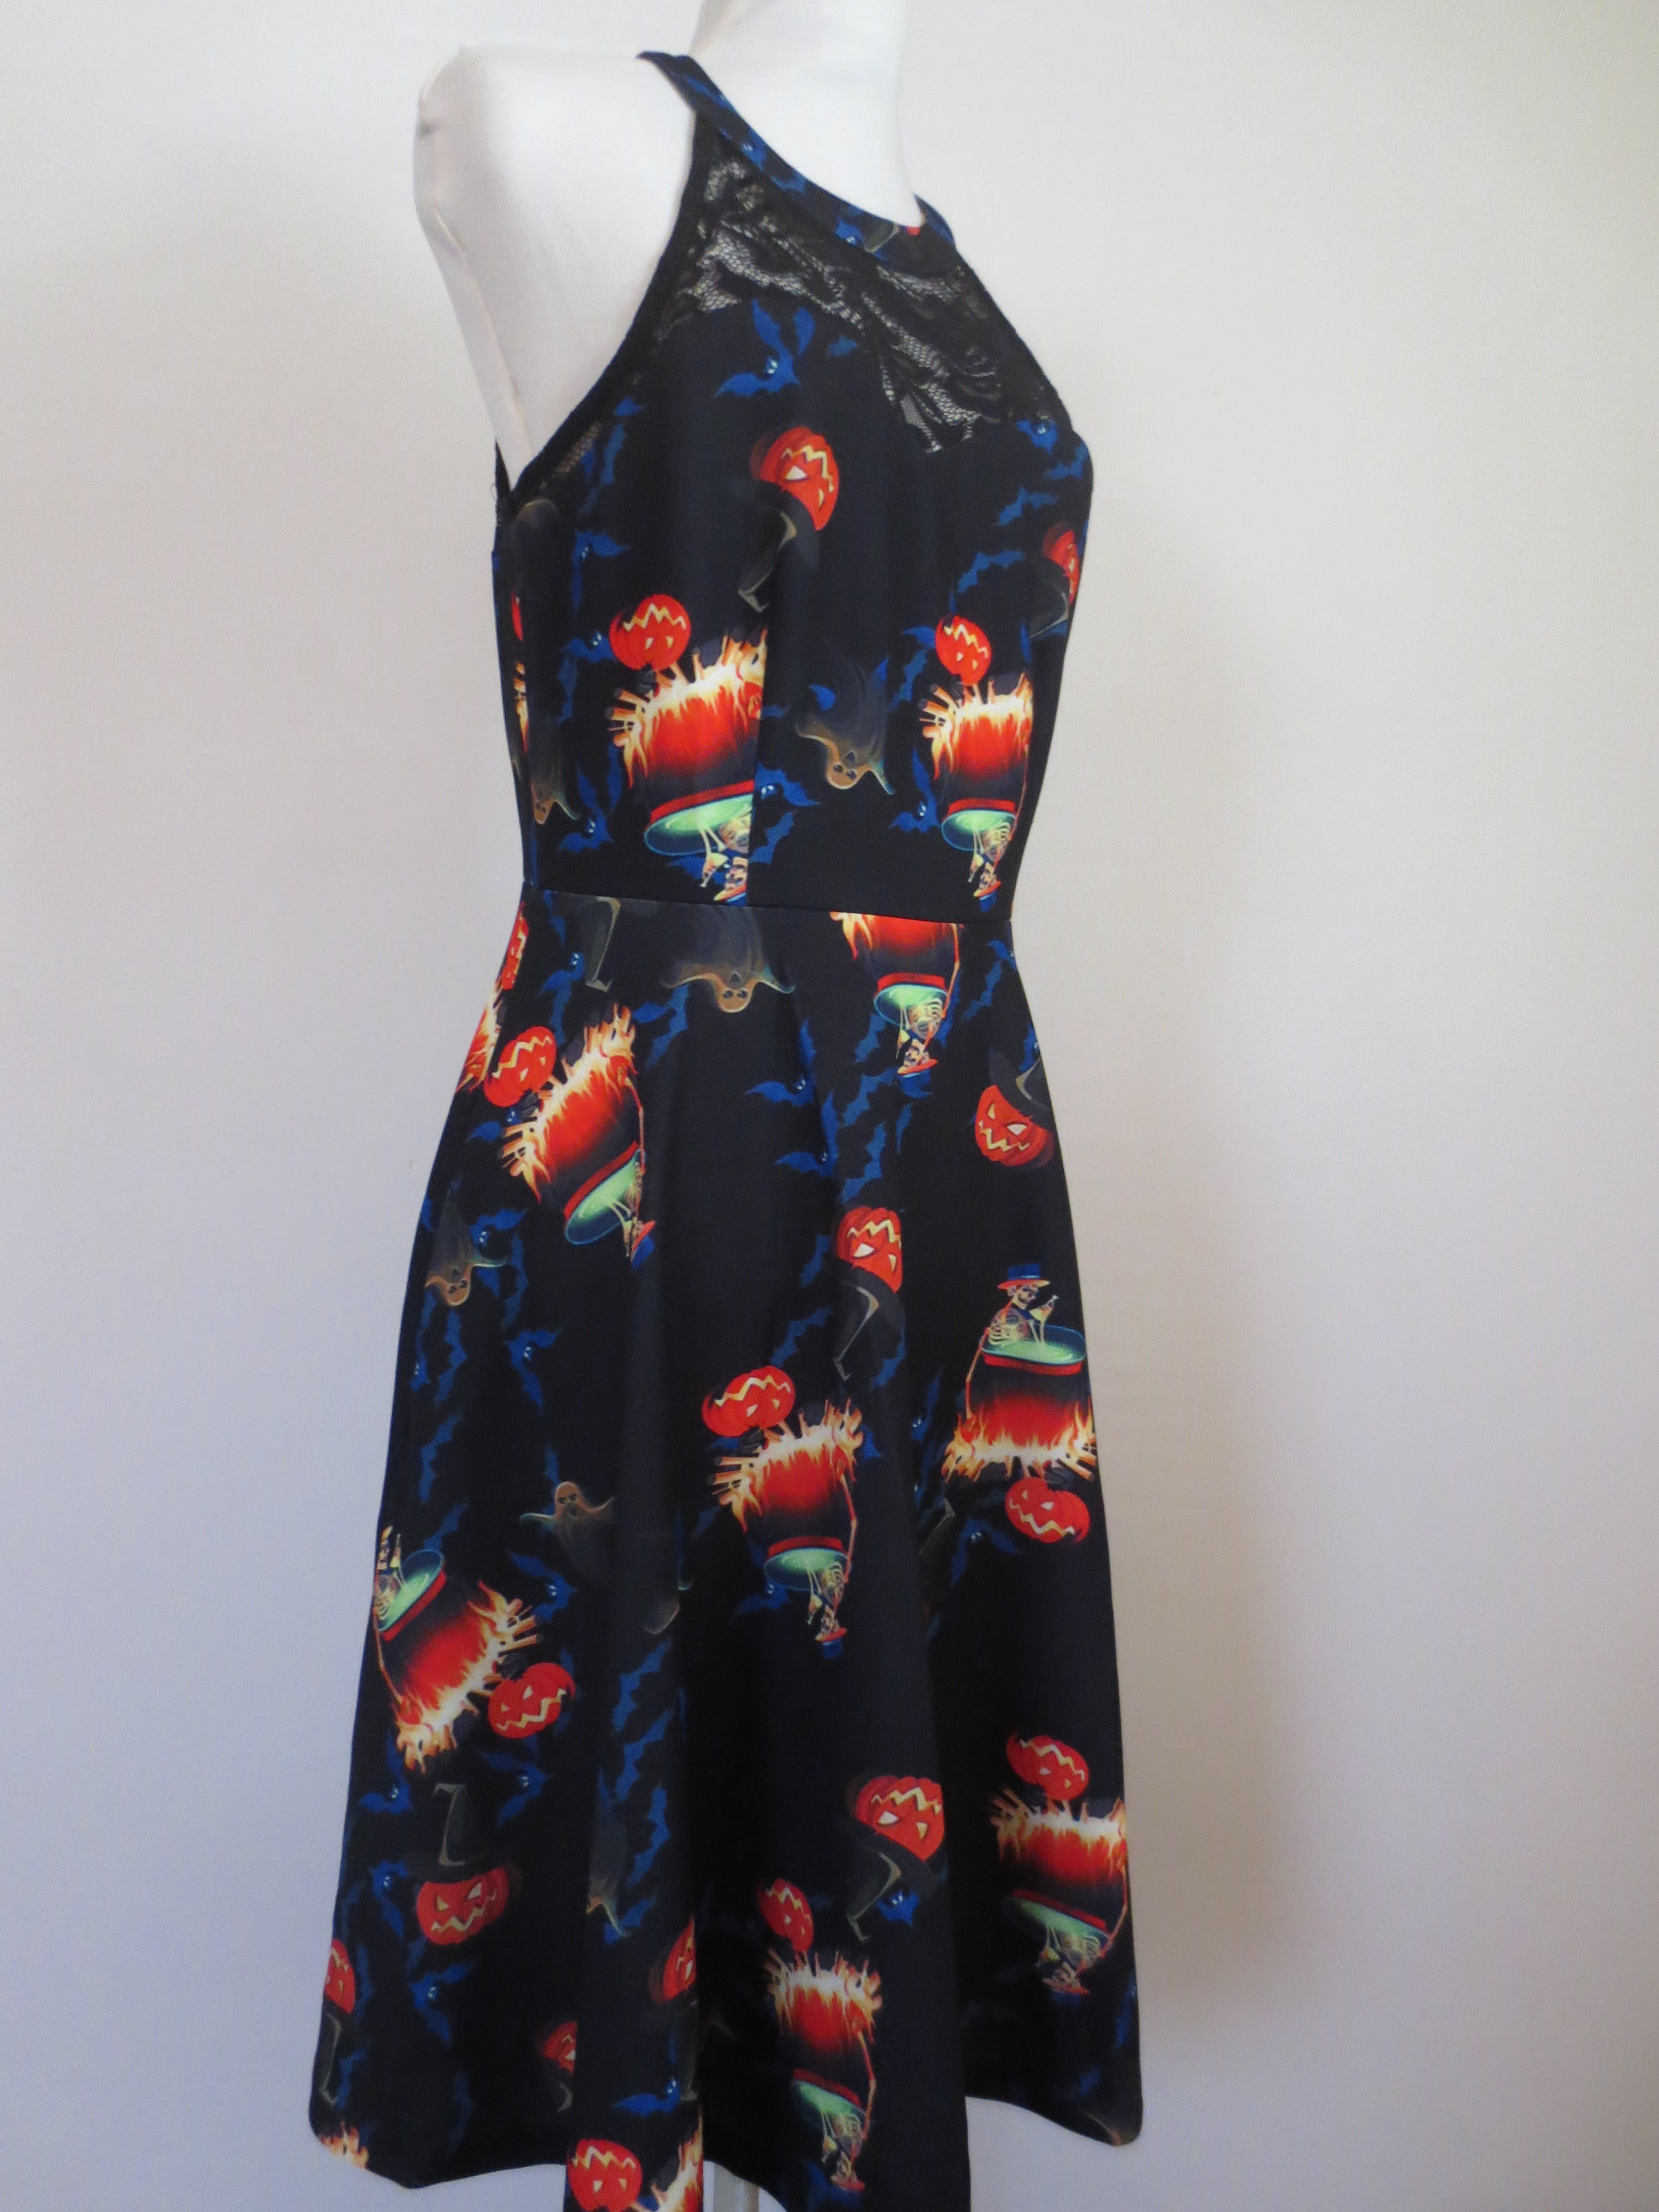
Happy Halloween! 🎃 I thought this was the perfect dress to post on this
day. This is a Halloween theme printed
jersey dress, pretty cool! I just needed
to add pockets to this dress. The lady I
did this for needed pockets added so she could just in put her keys and cell
phone while she was at her wedding event.
This is another easy tutorial on how to add pockets to any skirt or
dress.
I started with a basic pocket pattern. This pattern came from the book I have, Love
at First Stitch by Tilly Walnes. I used
the material from a pair of active wear pants.
I needed a heavier stretch jersey and this was perfect.
I used my beach rocks as pattern weights instead of pinning.
I cut out 4 pieces from the pants. I used the widest part from the pants, the upper
thigh and back side area.
I took a pin a placed it in the mark where the pocket opening starts and stops.
I turned up the pattern and dotted the pin area with chalk.
I removed the pattern and here's my marks. You can see where the pocket opening is now.
I put 2 pieces together and pinned all around except where the pocket opening is.
When she had the dress on, I placed this safety pin where she wanted the pocket to start. It's 5-1/2" down from the waist.
I turned the dress inside out and marked with my pencil the starting point which is 5-1/2" from the waist.
The pocket opening happens to be 5-1/2", so I penciled in my next mark. This is the opening.
I removed all the stitches between the marks. This is where the pocket will be inserted.
I wanted to use an overlock stitch. It's pretty strong and would be suitable for this fabric.
I started my overlock stitch at the pocket opening point and stitched all the way around to the other point and stopped.
Next step was to pin the pocket in place at each edge. I snipped the fabric to each point on each edge as shown.
Snipped the other edge.
Both edges are snipped, and I'll explain why I snipped each edge.
Next, I stitched both layers of each edge down on to the dress as shown.
Here is the bottom stitched on.
Here comes the part where I attach the rest of the pocket. I attached the one side of the pocket to the one side of the seam allowance of the dress as shown. This will make the seam invisible from the outside. Sewing the edges like I did just make the pocket cleaner to install as you can see.
Another angle....
Here are my overlock stitches. The pocket is now attached, but I'm not done yet.
I ran another row of zig zag stitches on top of the overlock stitches. I just wanted to make sure the pocket is secure.
Another pic of both stitches.
I turned the dress right side out and here's what it looks like so far.
I gave the new pocket seams a good press. I used my press cloth so I can use a higher temp with steam.
I decided to put in a few reinforcement stitches on each end
of the pocket. I’ll put in about 4-5 stitches
and back stitch the same amount where the pin is.
You can see I’m about to stitch horizontally across the
pocket, but I ended up turning the dress to make vertical stitches. Sorry I
didn’t take the pic correctly, but at least I could explain the correction I
did!
Pockets are done!
Here is finished look.
Here’s a couple more finished pics on the dress form!
I hope you enjoyed this post and found my tutorial helpful!
It’s very easy to install pockets in any dress or skirt and I’m happy to show
you how to do it! Have a great day and Happy Halloween!
🎃😉🧷🧵👗


Post a Comment