

This lovely green satin gown needed to be hemmed and let out at the sides. The gown did not have any seam allowance to let out. My plan was to borrow extra material from the hem and use that to create panels for the sides. During the fitting, the zipper in the back was very tight trying to zip up. I zipped it up to a point where she was comfortable enough. We needed to add 5” total so the zipper goes up comfortably. There was plenty of extra fabric from the hem to work with. I’ll show you the fitting process as well as hemming, drafting the pattern for the panels and sewing them in.
This post will be part 1 - hemming and widening sides. Next in part 2, we'll be adding a modesty panel to this gown.

I zipped up the back to a point where she was comfortable. I then measured the total distance we needed to let out. Total was 5 inches at the widest point. This measurement will be divided in half and applied to each side.

I moved down to the end of the waist band and measured 4 inches total. This measurement will also be divided in half and applied to each side. Next I'll show you how I created the pattern panel for each side. I had to create two different panels because the waistband is lined and ends with a seam. I had to go beyond the waist below and taper down. This skirt was not lined.

Here's my diagram of the back zipper.

This is my diagram of dimensions for the side panel. The arm hole is at the top. I basically divided the totals needed in half and tapered straight down.

My donor material for the sides is going to come from hemming the skirt. As you can see, there will be a large amount left over. Here, I have her all marked up with safety pins at the floor. So now we need to hem the skirt first.

I decided to mark next to the safety pins with white chalk. This will be my new hem line.

Close up.

I folded the material over and stitched right side up a 1/4" below the chalk line.

Cut excess fabric near the stitching.

Folded over and stitched once more to close the hem. This is where the chalk mark lies on the edge - which is the new hem line.

Here's a close up of my panel pattern I drafted.

Pattern pieces are cut. I made these with no seam allowance, I had to add the allowance on the material. You'll see that in the next photo.

Here is the top piece which is the largest and I needed 4 cut because there's a lining.

Here's the bottom piece which is smaller. I only cut 2 because there is no lining. This goes towards the bottom and tapers down straight.

Panels are cut, marked up and ready to install. I did a zig zag stitch around the edge before pinning each piece in. This satin tends to fray at the edges.
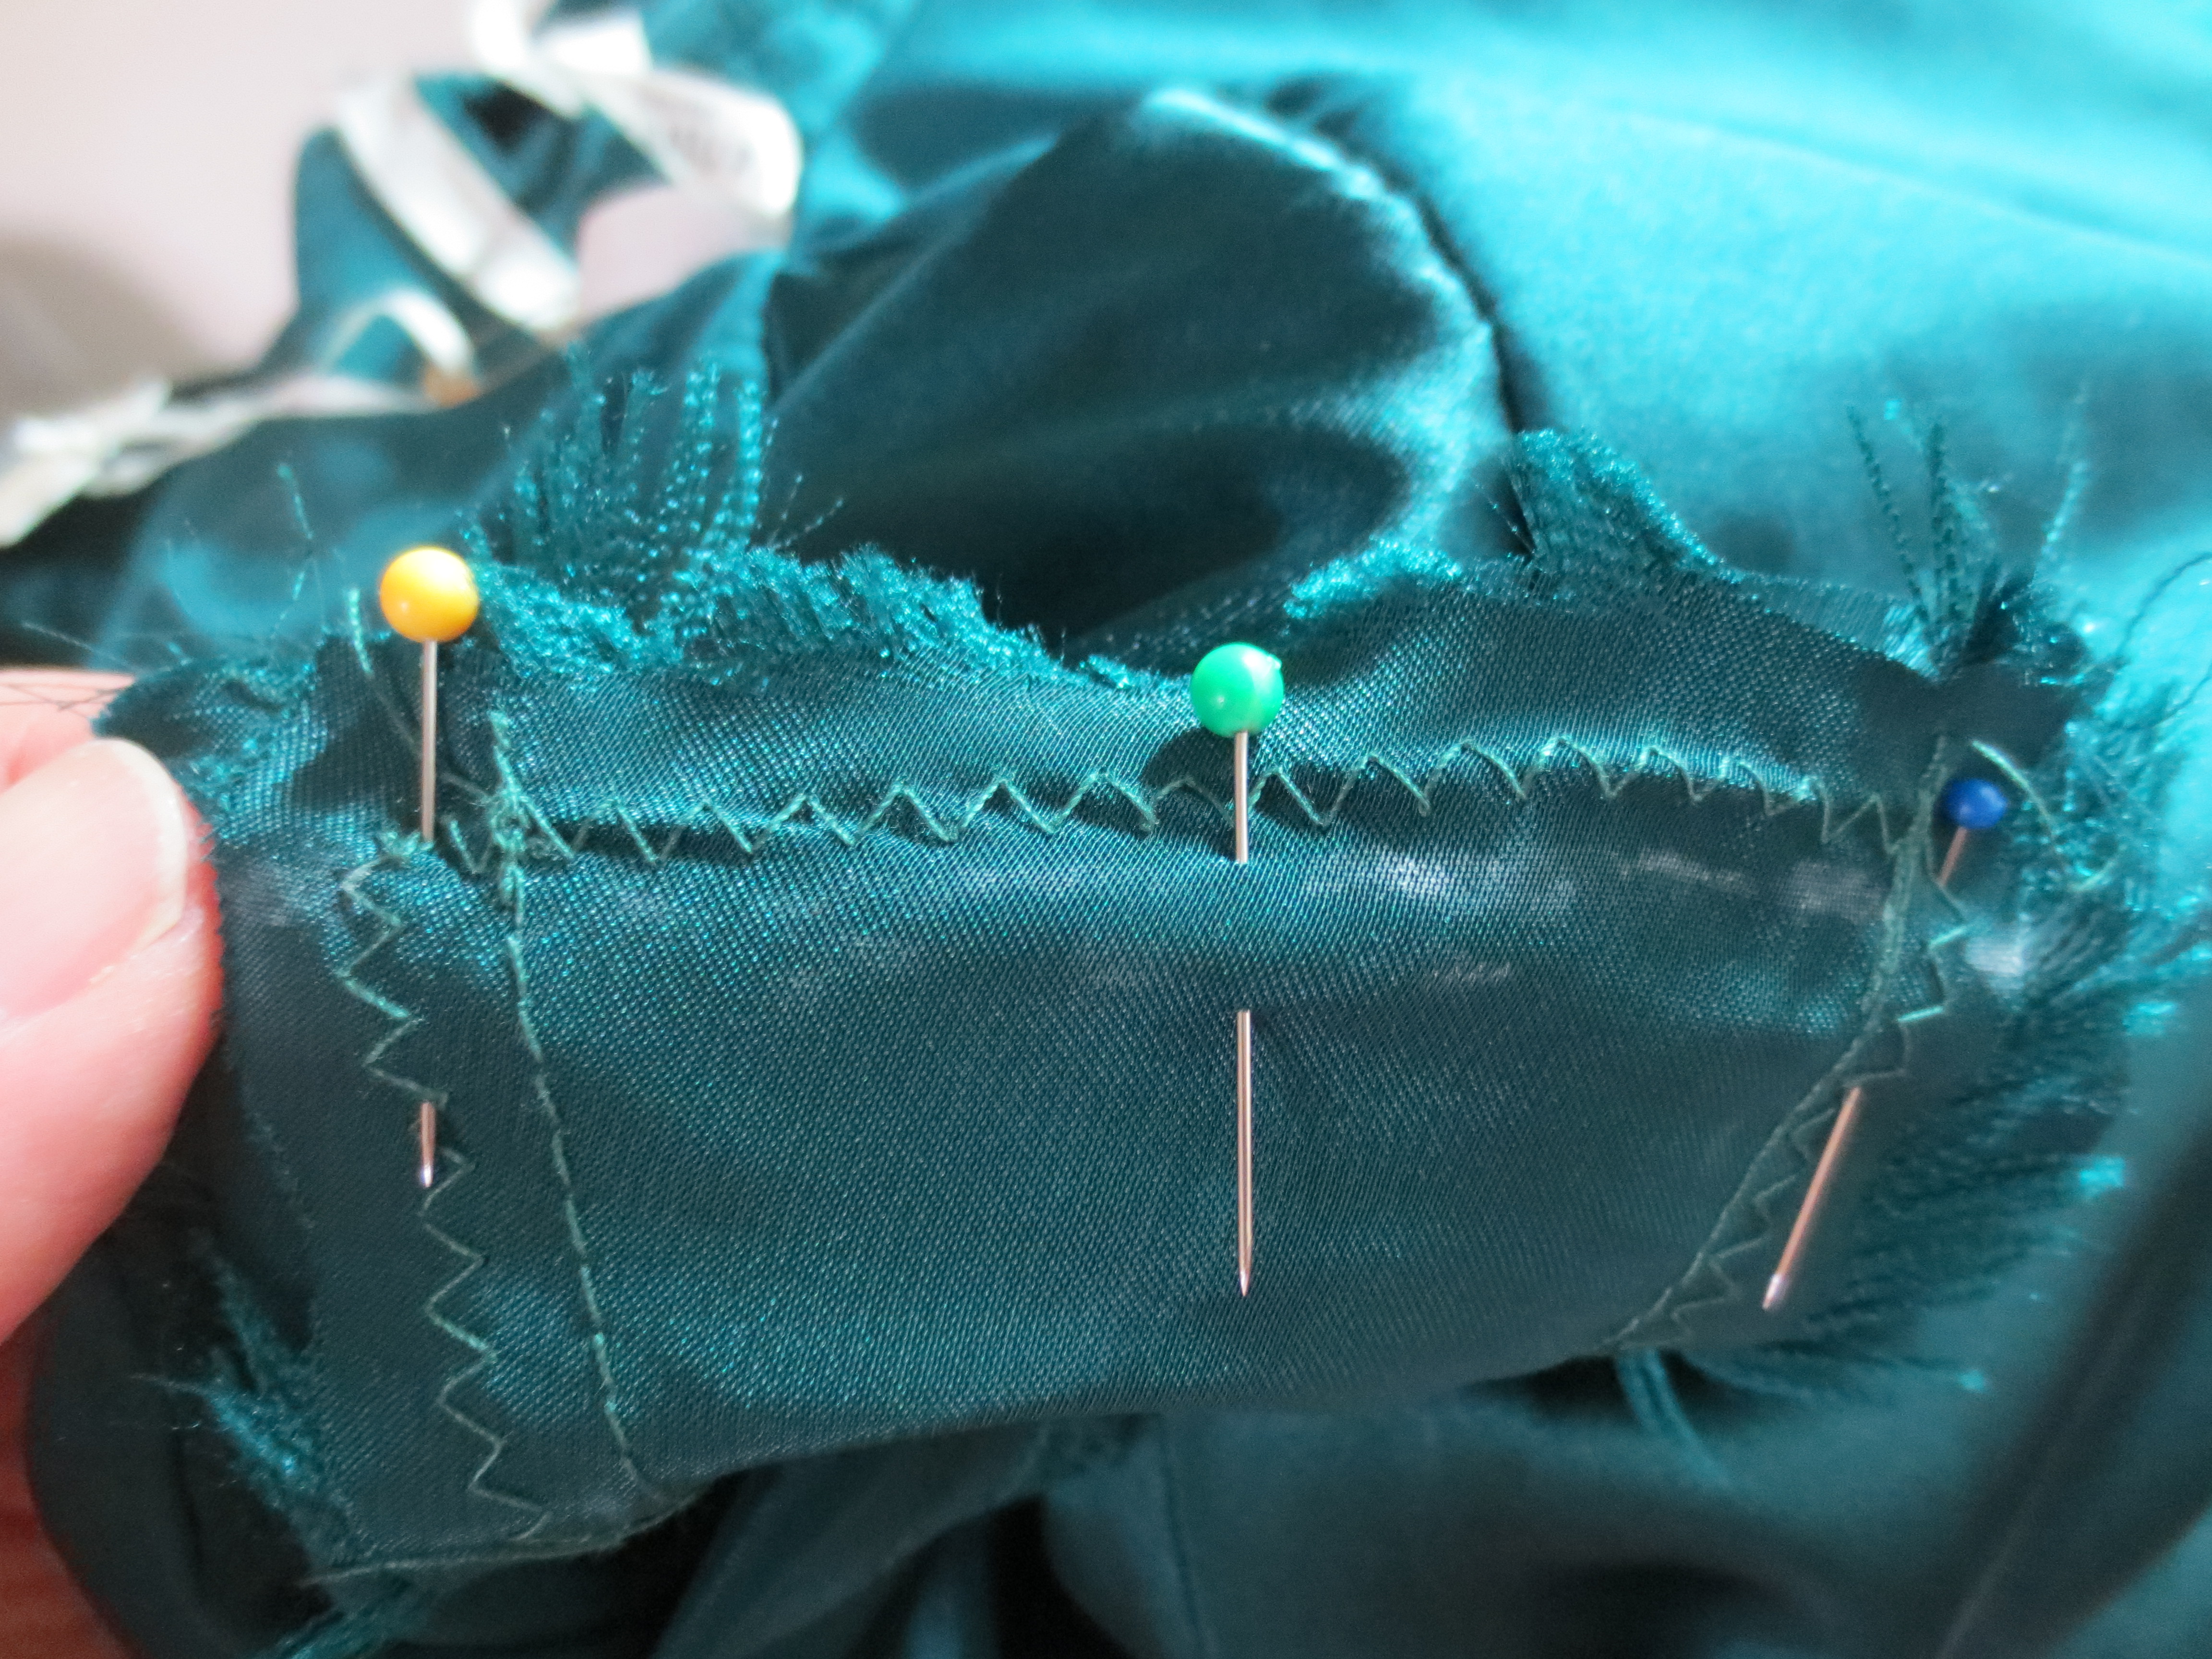

Here's one of the pieces (top) pinned in the sides. Sorry I didn't show more pieces being installed, I lost some of my pic files!

Here is the is inside of the lining with the panel stitched in. On the right side, where my thumb sits, is where the lining ends and the skirt begins. My new seams still have to be pressed.

Here is the bottom piece. There is no lining on the skirt. This panel tapers downward.

Pinned together the top to the skirt and close the seam by stitching.

Finished look at the sides. It's almost looks like puzzle pieces fitting together.
This part is now finished! Next we'll be moving on to part 2 on creating a modesty panel for this gown. I hope you enjoyed this post! Thanks for stopping by! 😉👗🧷🧵


Post a Comment