
.png)
This is part 2 continuation of the satin bridesmaid gown. Here we are going to create a modesty panel for this gown. I do agree most gowns and casual dresses are cut way to low to show cleavage, and some of us don't want that look. This little panel helps keep those low cut dresses modest looking!
I didn’t write down the dimensions on this pattern. Naturally, every modesty panel is made to the
wearer and to the dress. It also depends
on how much coverage you want too. On this panel, I made the height to the mid
chest down to the bottom. It’s basically
an upside-down triangle.

Here's my paper pattern I drafted for the modesty panel. I included seam allowances on this one. We had plenty of hem fabric leftover to use. For this panel, I cut 2 pieces. Since this satin frays like crazy, I'm going to sew the 2 pieces together right sides together. I'll leave an opening and turn it right side out, press and finish the stitches. It'll make a nice clean panel to stitch in.
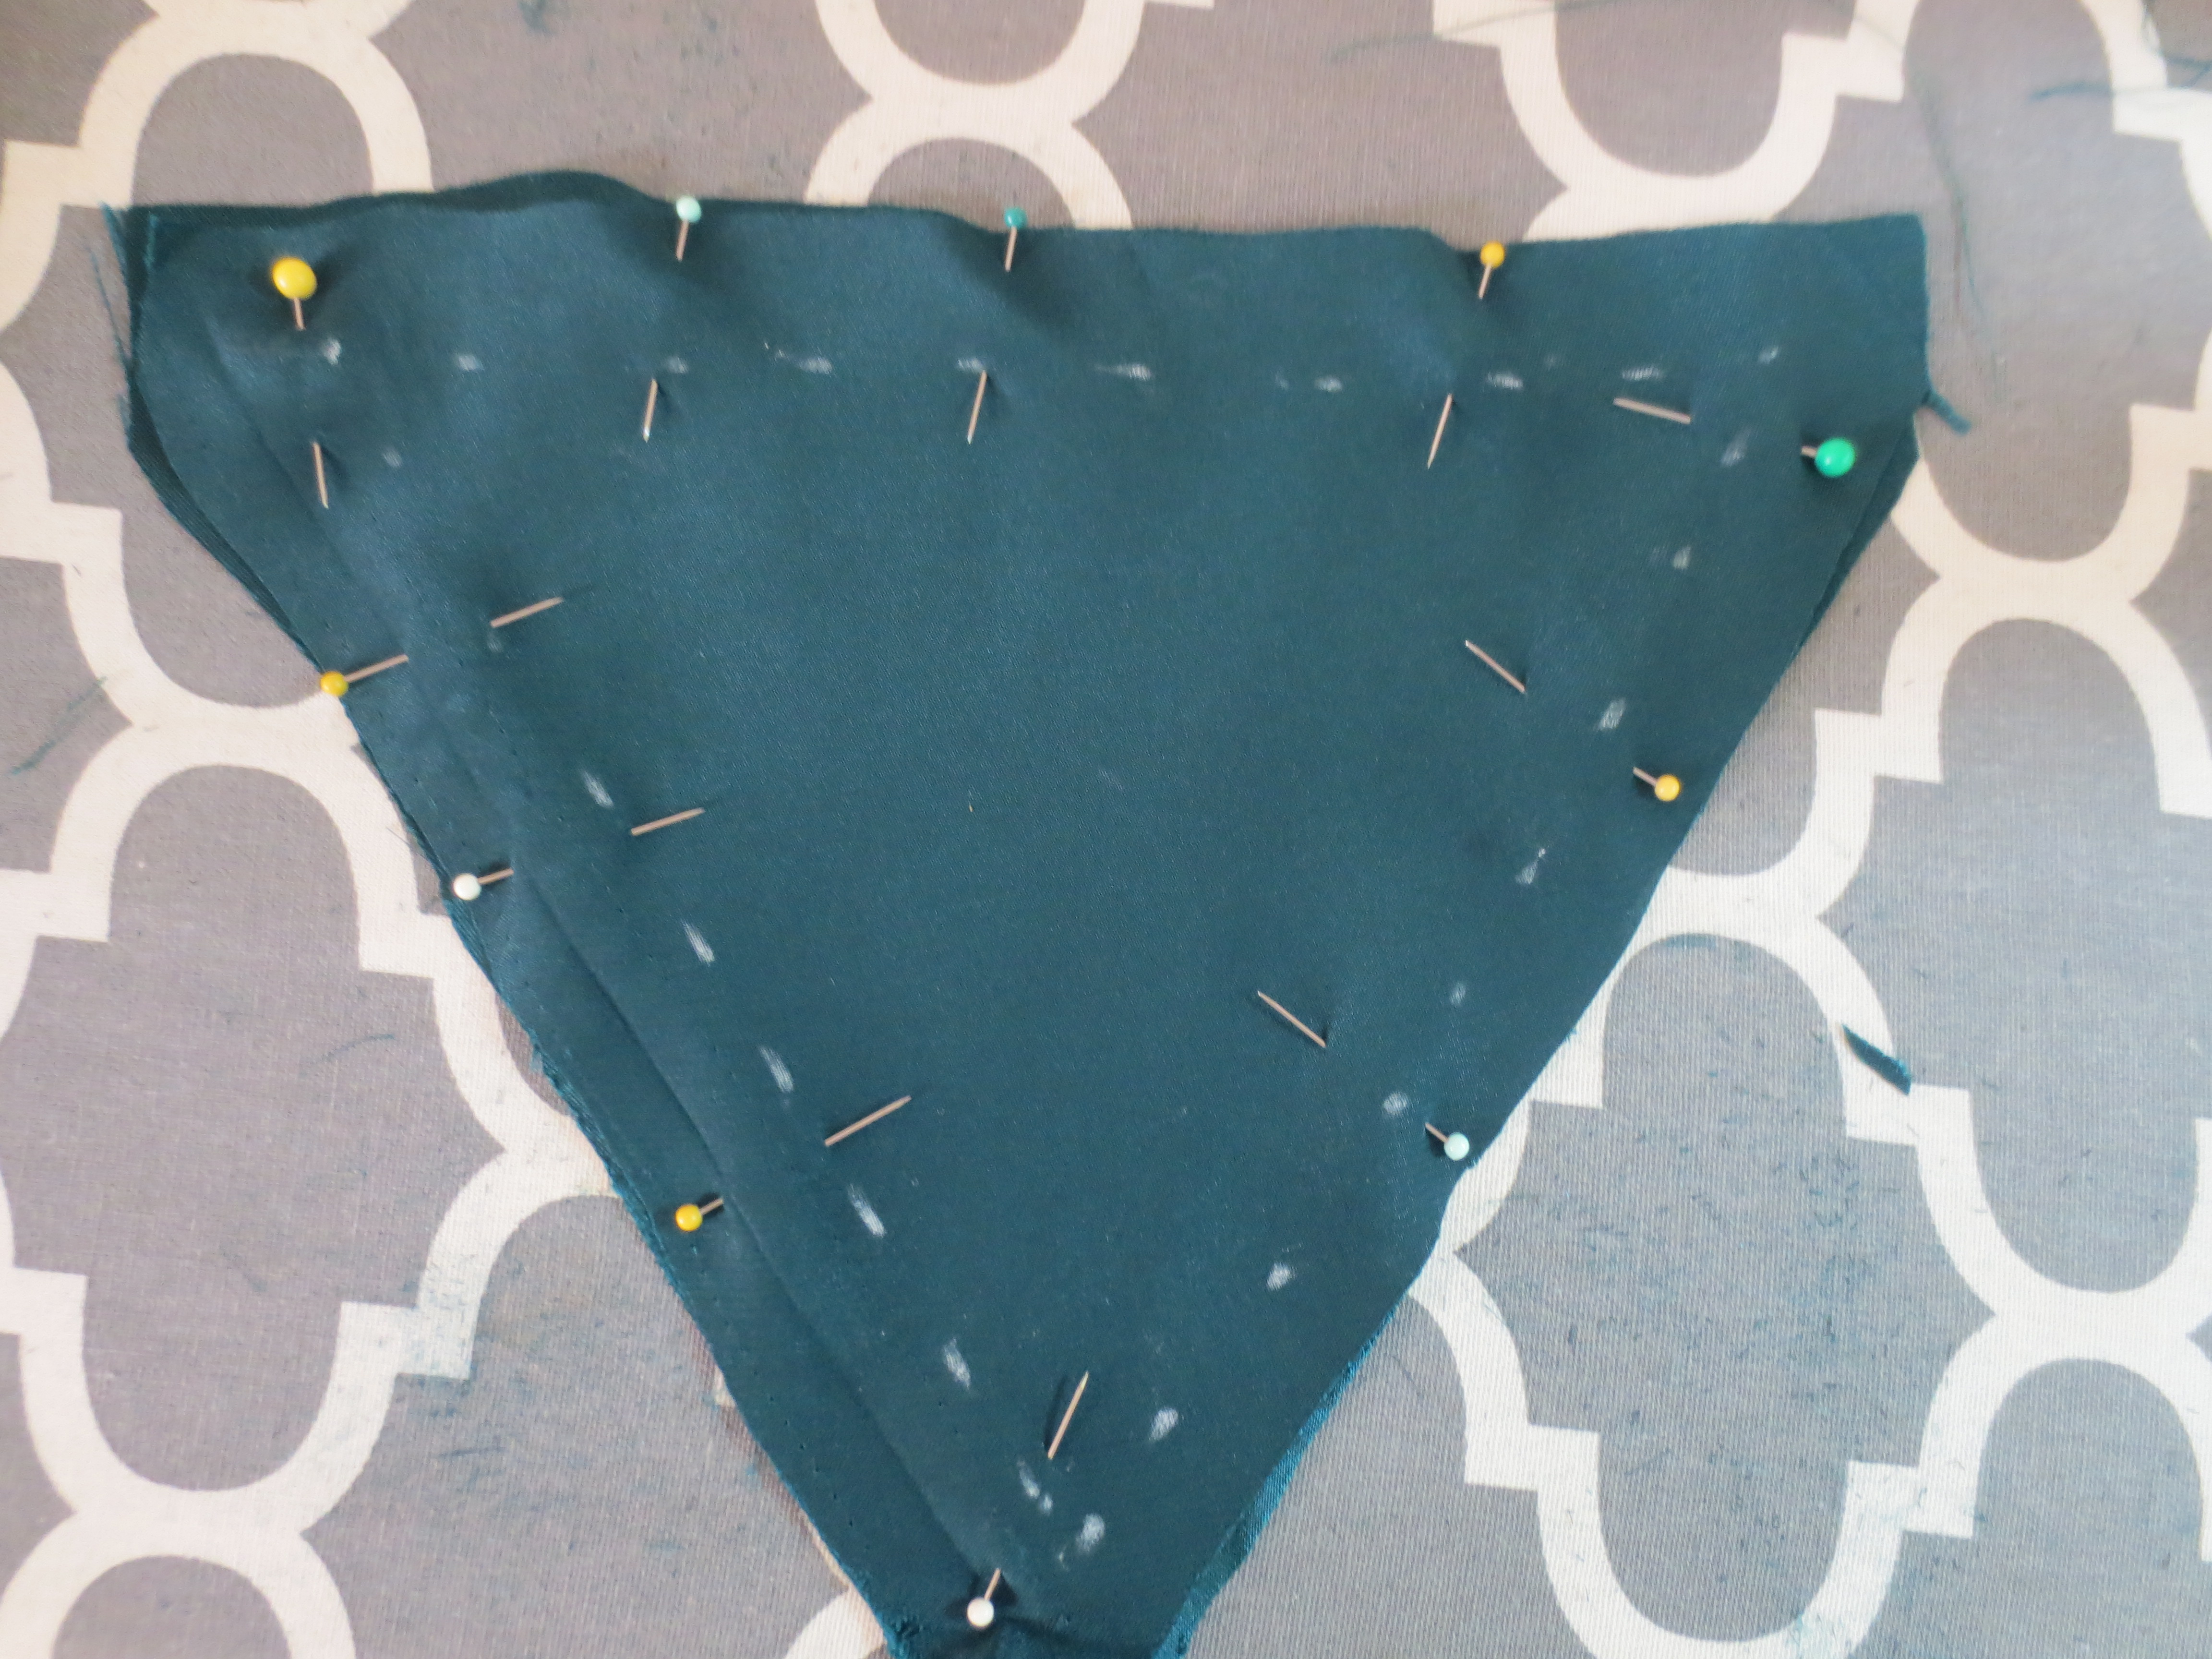
Two pieces right sides together and seams are marked with chalk.

I stitched around and left a small opening. I turned the piece right side out, pressed and stitched the opening closed.

Panel is pinned on the inside where we want coverage.

I slip stitched the panel by hand so the stitches wouldn't show through the other side.

Finished!
I hope you enjoyed my part 2 post on making this modesty panel!
Thank you for stopping by! 😉🧵👗


Post a Comment