
Everyone has certain preferences when it comes to pant leg styles. They may prefer the slender look over a wide
leg. You can easily narrow the legs of
knit pants by slimming down just the outside of the leg. I had someone bring this jumpsuit to me
asking if I can do this for her. She previously
took it to someone that said they must slim down both sides of the pant legs but the
work would be so much more. I guess I do
see the point in symmetry but in this case, I wanted to see if it would work
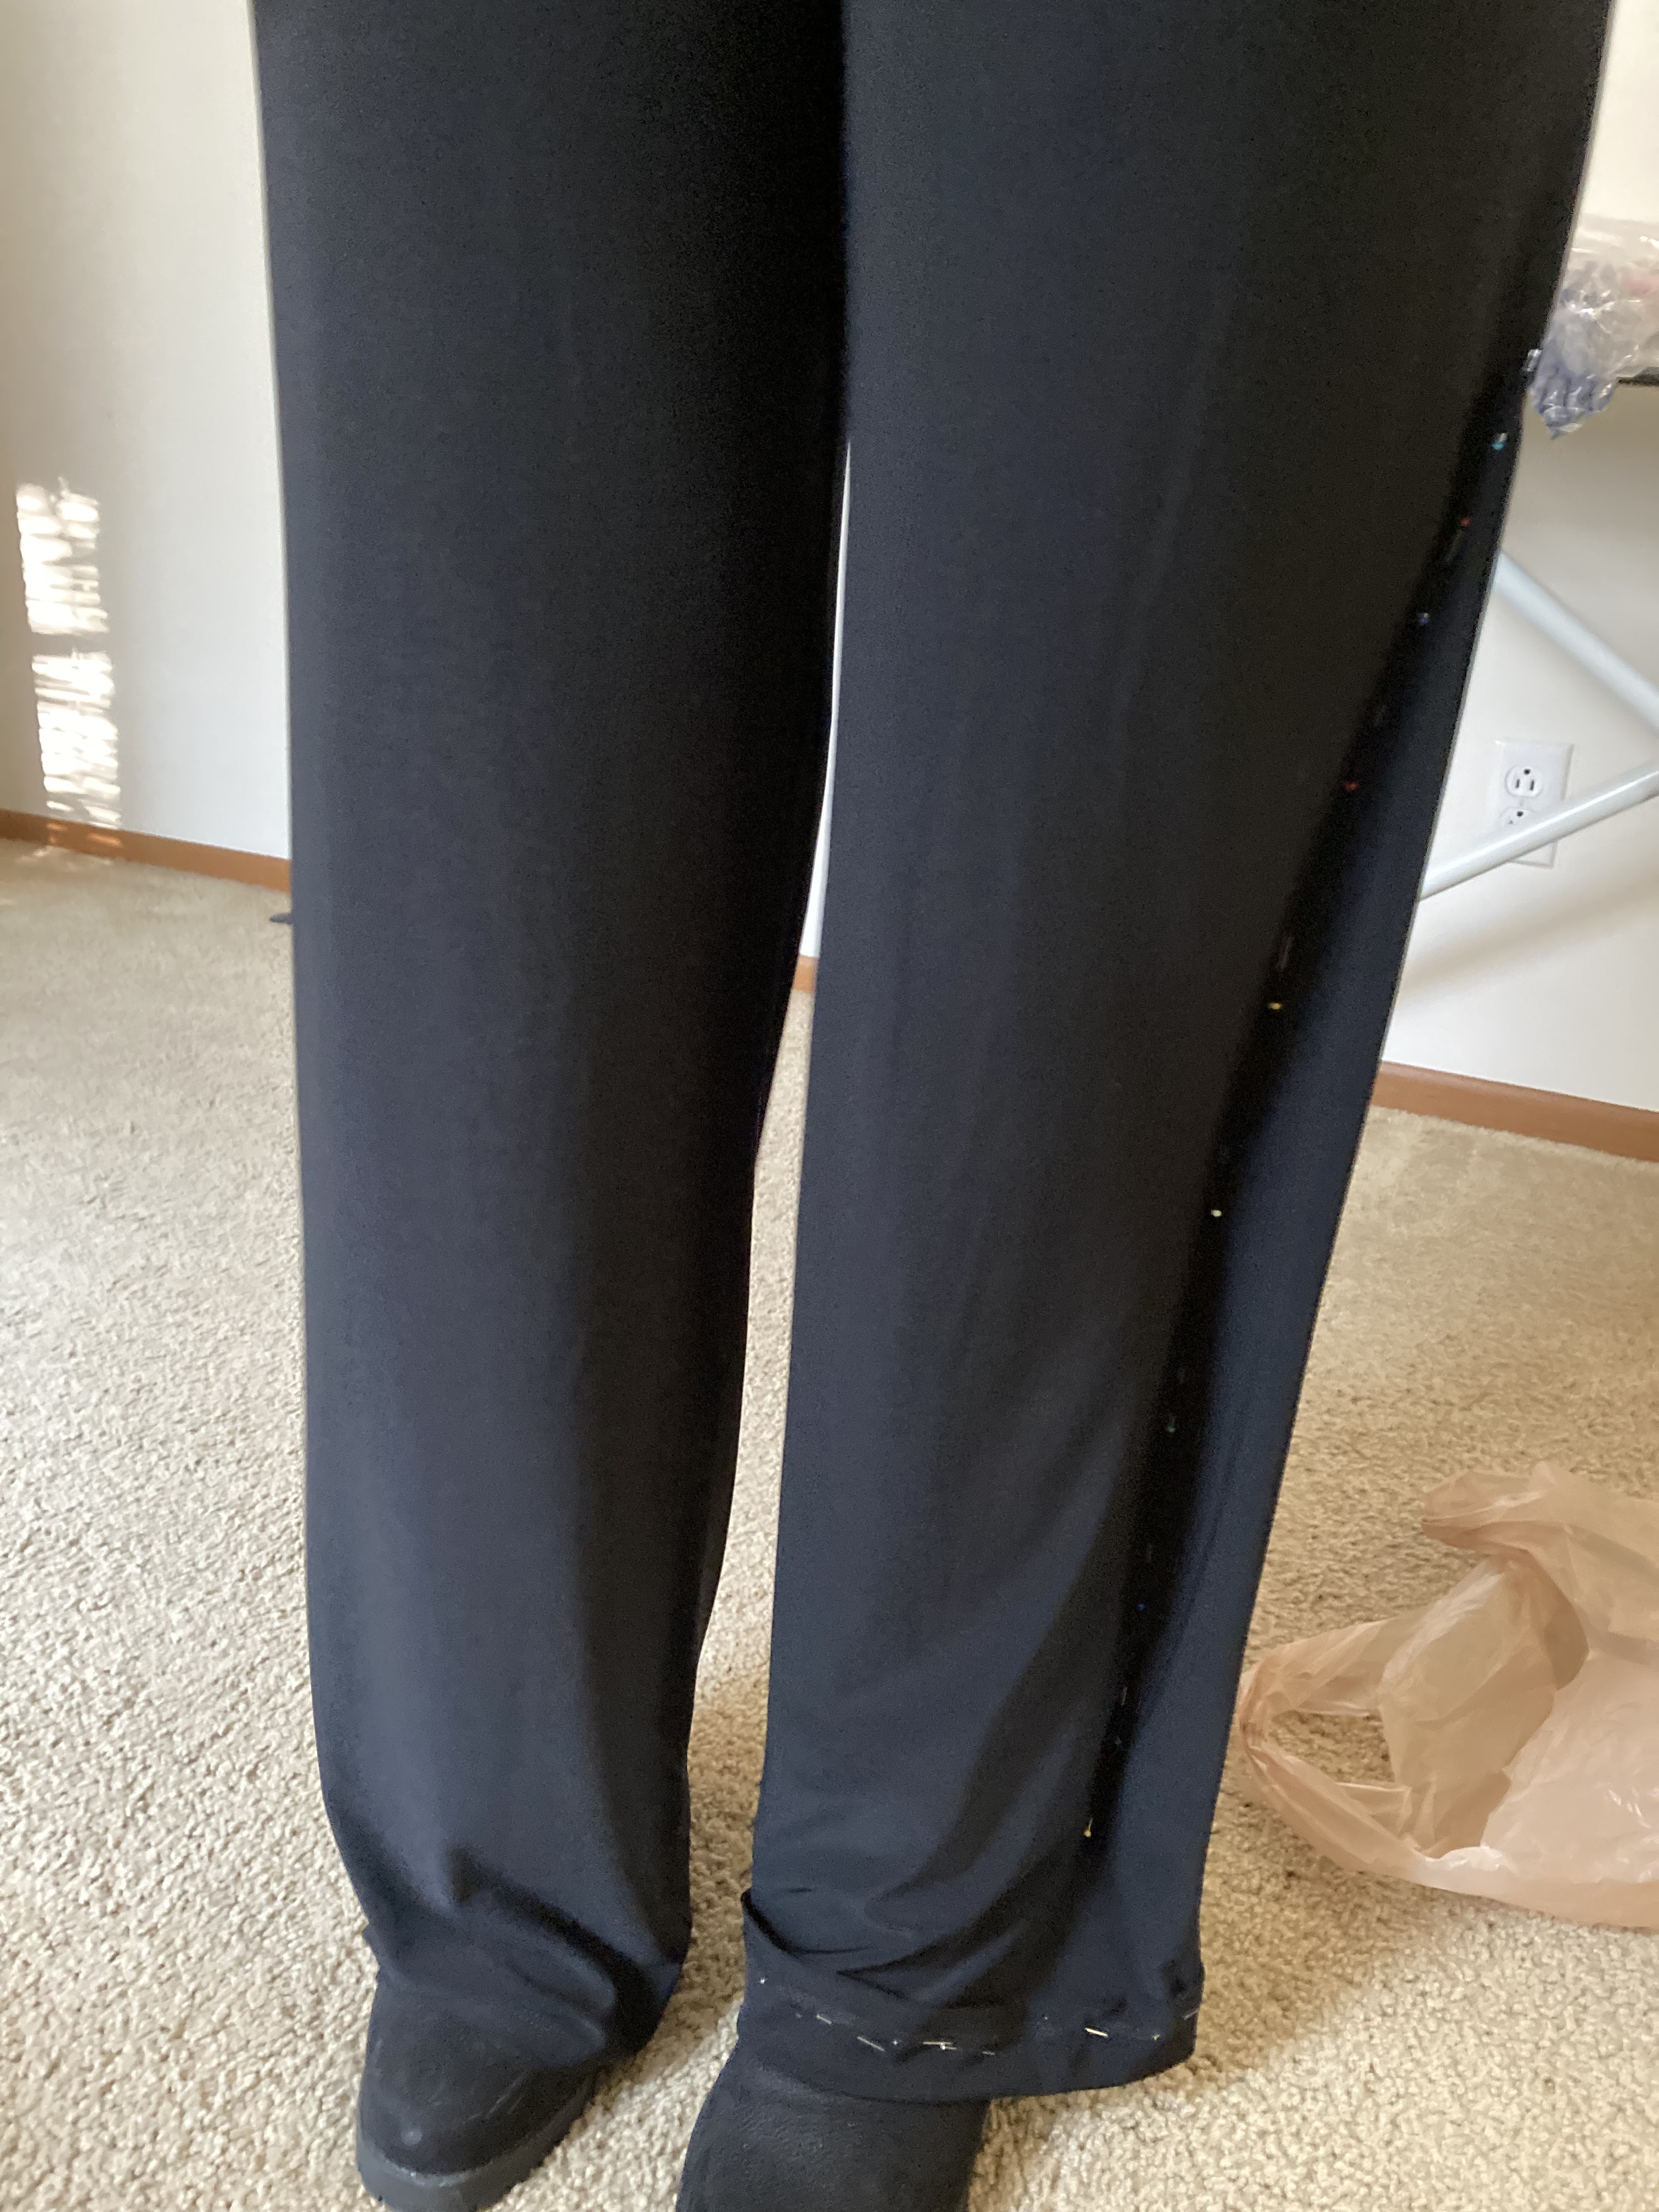
by just taking in the outside of the leg. During the fitting, I went ahead and pinned up the one side. The result looked normal to me, and she thought
the same!
Before attempting this, first check that the leg drapes well
after pinning. If not, then both sides
of the leg may need tapering. It's always good to check first. If it looks good after pinning the outside
only, then it’s a go!
This is a simple and time saving method on how to slim
down the legs of any knit pants by just taking in the outer seam.

Here is the outside of the leg pinned up. I started at the bottom of the leg and worked
my way up to the thigh area. From the ankle
to the knee, I pinned a straight line going up.
From the knee to the thigh, I started pinning to fit the leg
until I reached the top of the thigh. At
that point, it tapers into the original seam.
As you can see, the fabric draped well pinning just the one side.
Here's my diagram of my work instruction. These always help visualize everything that needs to be done including all the measurements.
The width I'm taking in is consistent and straight from the hem to the 16" mark which is past the knee going upward.
From the 16"-point measurement, it starts to taper in. I decided to stop at 28" going past the pins slightly. I wanted to aim for a natural taper.
By looking at my work instructions I made, I took out all the pins and started making my marks with chalk exactly like my diagram says.
I used my walking foot and set my machine to an overlock stitch. I started stitching from the hem all the way up to the thigh.
Here, I'm about to taper into the original seam. Almost there!
Before cutting the excess fabric, I needed to check my work first. I turned the pants right side out to check the straightness of the leg. Once you cut, you can't undo it.
Since all was well, I started cutting the excess fabric close to the edge.
Finished cutting the excess past the taper area.
Now it was time to press the new seam. I took my seam roll and placed it directly under the seam.
I used my press cloth to protect the fabric and pressed with medium heat with lots of steam.
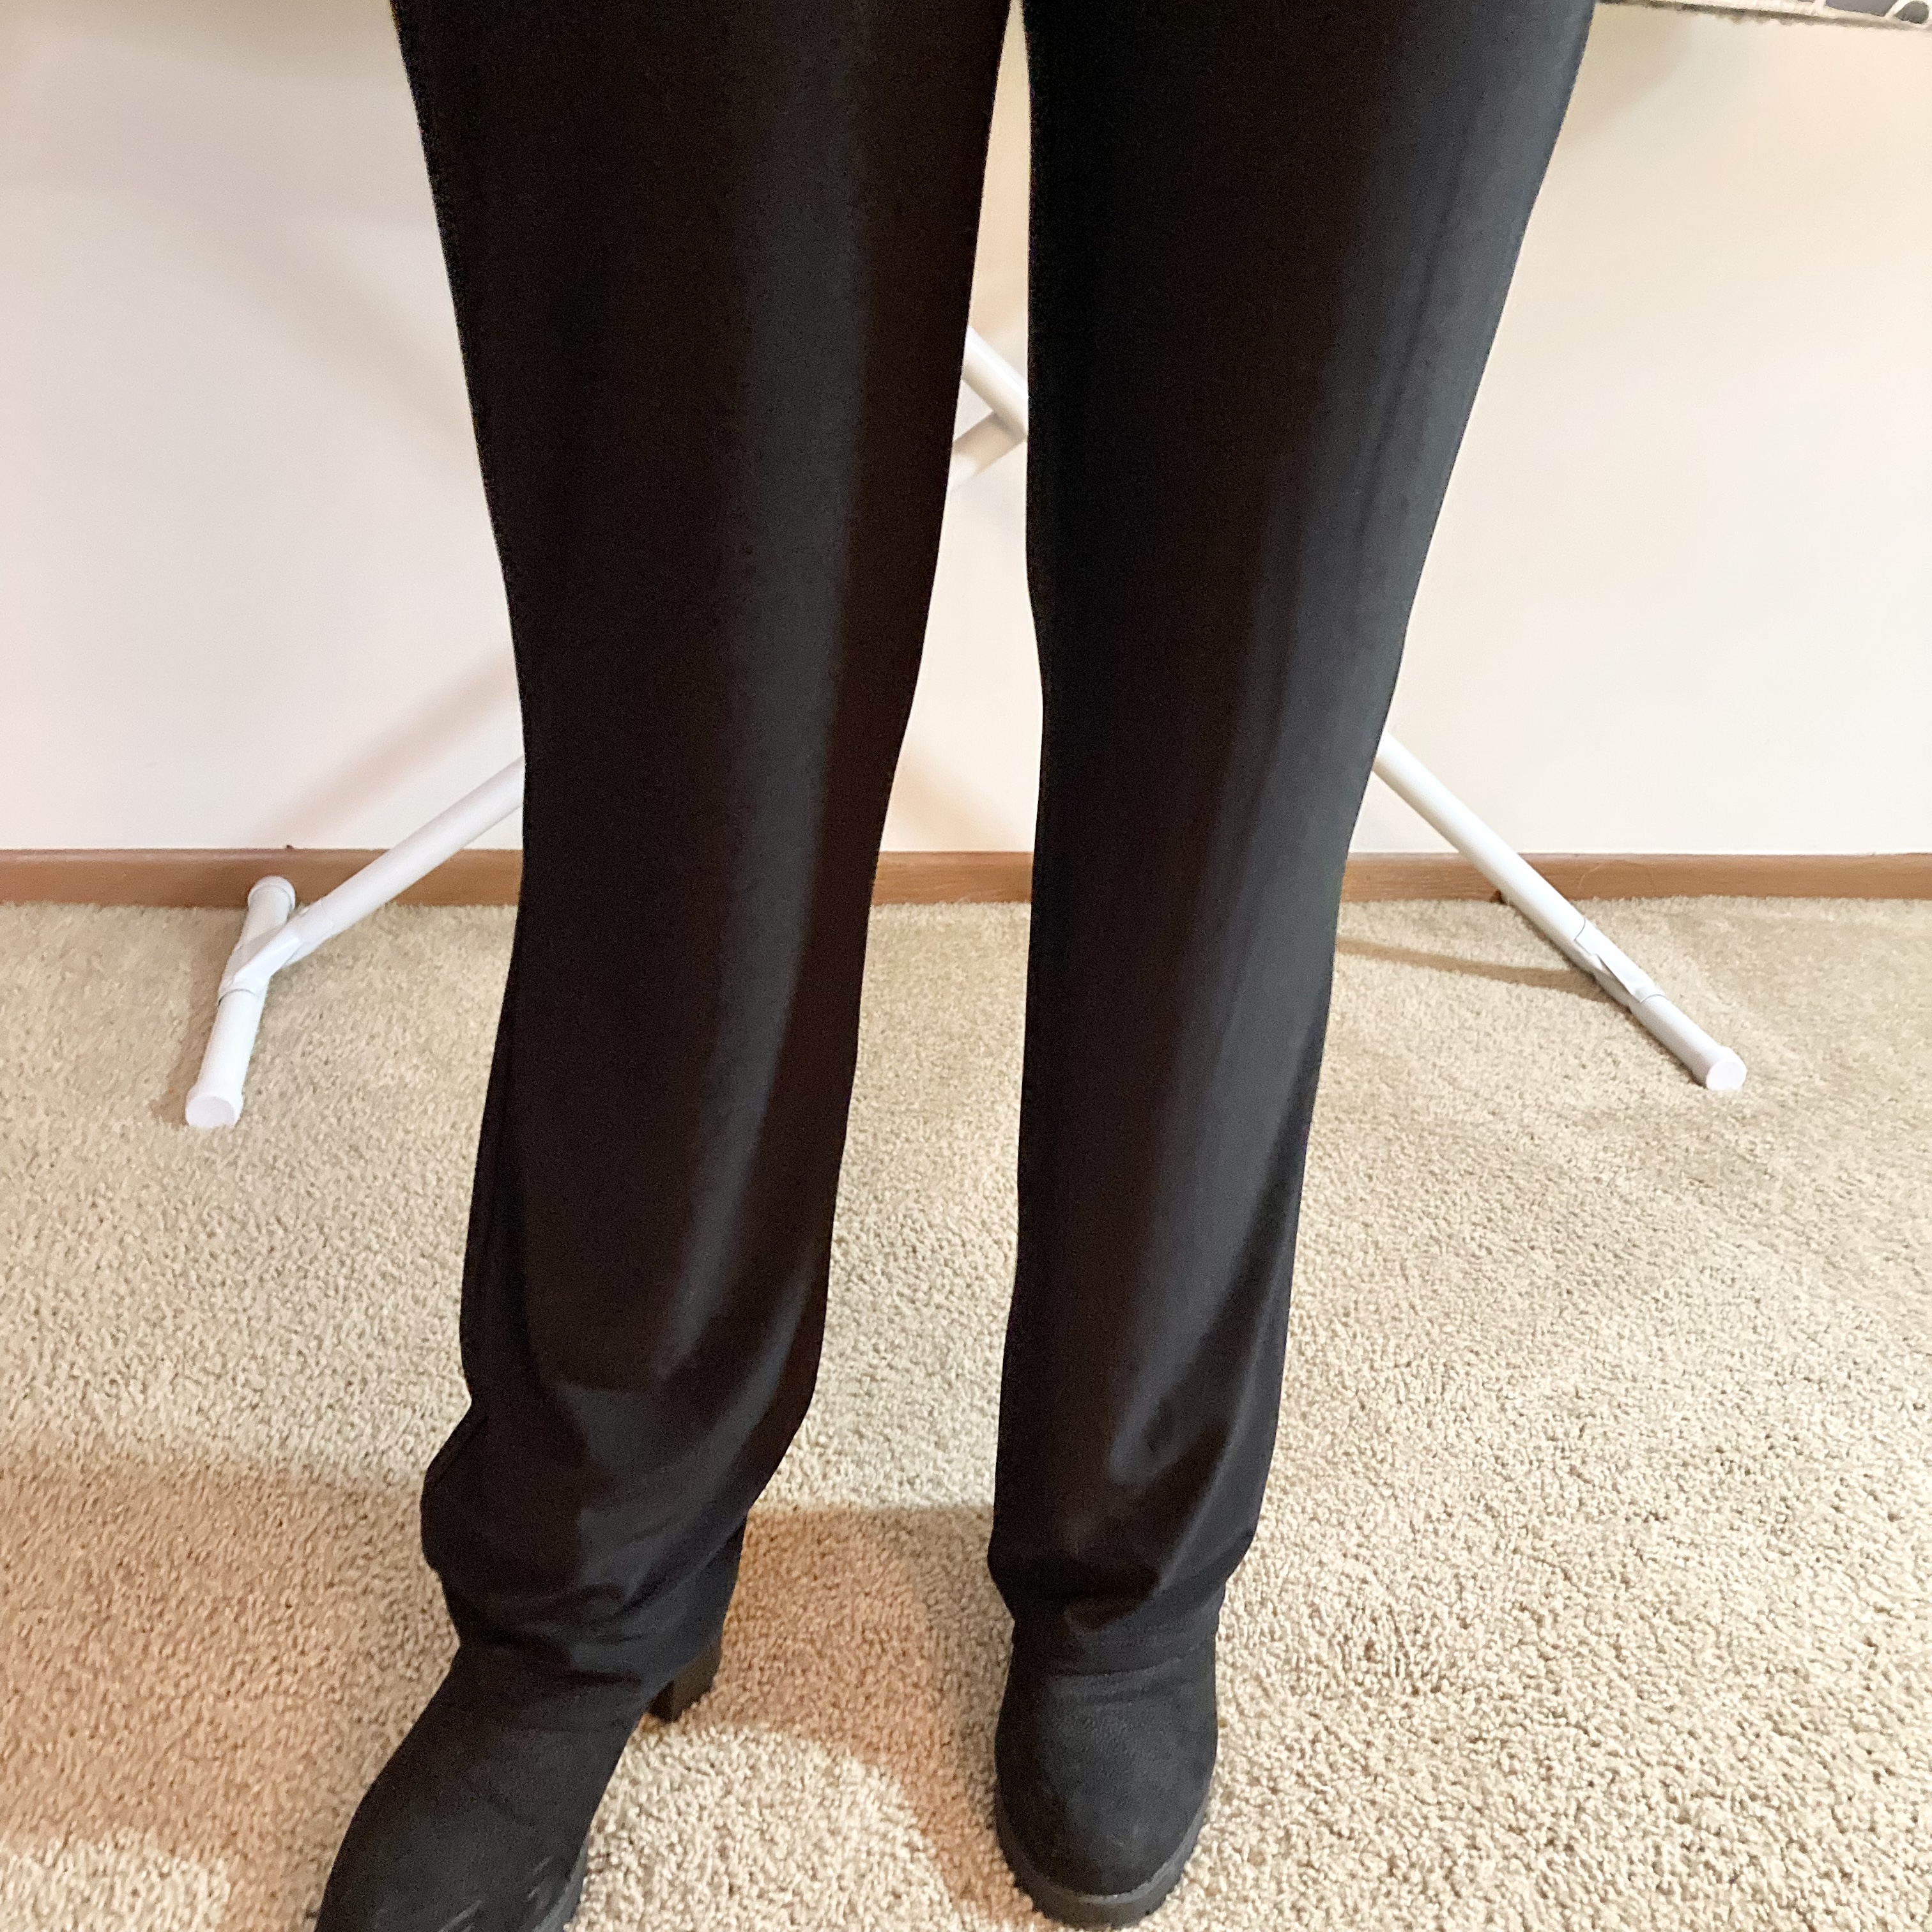
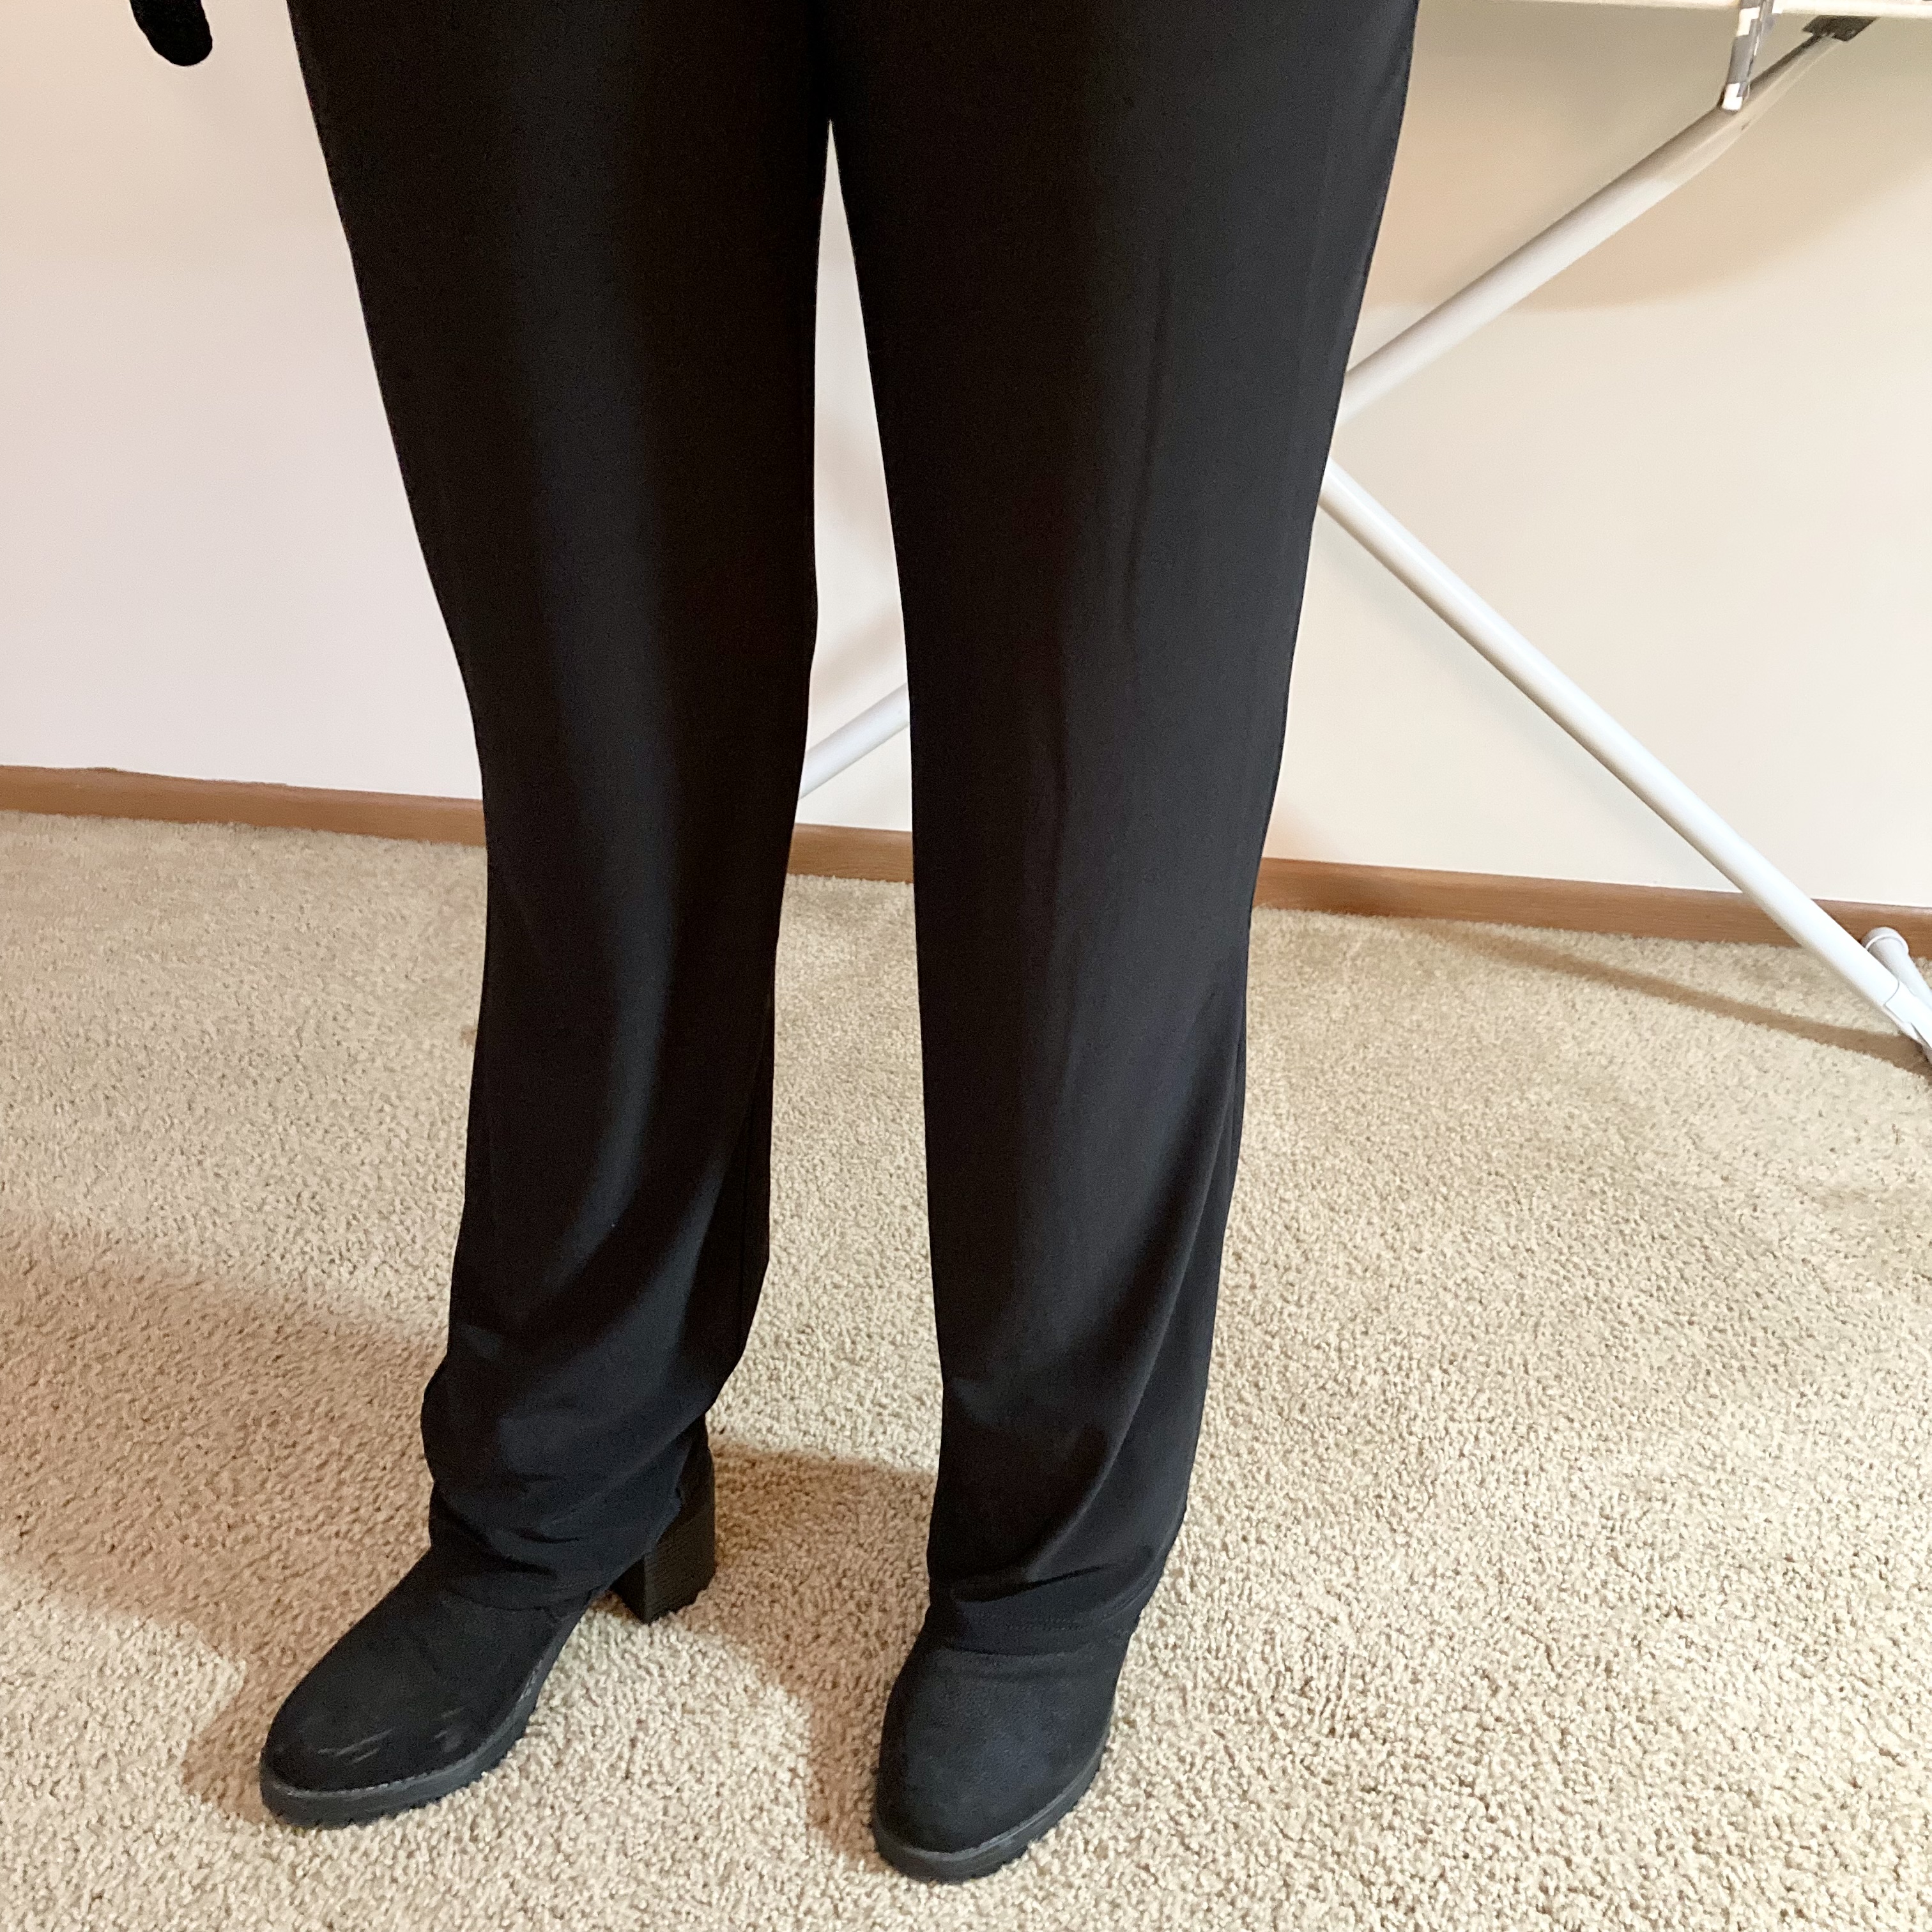
All finished! She was very happy with the new look!
The legs are smooth and straight, just to her liking and the alteration was a success.
I hope you enjoyed viewing this tutorial! I'm always happy to share the knowledge! Thanks for stopping by!
😉🧷🧵💖


Post a Comment