

This was actually the first extensive wedding gown alterations I performed.
I altered for my niece Cara last year in 2020. Her gown needed the following:
1. The sides of the bodice taken in. (sorry, my pics were lost on this procedure)


.jpg)


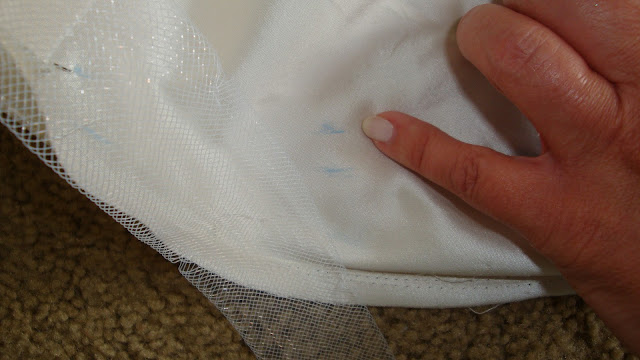


I hemmed the tulle petticoat lining near the top – This lining was one layer attached to about 5 layers of tulle ruffles with lace trim at the bottom. Rather than hemming the layers of tulle at the bottom, I shortened it at the top where the tulle starts without tearing the gown apart at the waist.


2. The skirt hemmed which was attached to a lining with hair braid – I did this by opening the lining from the inside, turning the hem inside out, detaching the hair braid, hem, then re-attaching the hair braid.
3. The lining hemmed near the top – This lining was one layer attached to about 5 layers of tulle ruffles with lace trim at the bottom. Rather than hemming the tulle, I shortened it at the top where the tulle starts without tearing the gown apart at the waist.
4. Trimmed tulle skirt.
5. Added pockets.
6. Added Bustle - I added a 3 point over bustle. Hand stitched loops through the fabric and lining of the train and added hooks at the waist. I do have a short video in my collection. It's on my Facebook page and it shows how I sewed the chain stitch on her gown.
The following are more pics at the wedding, great shots!


.jpg)


The following pics are all the process pics I took when I was altering.
This is a peek under the bodice!

Much length to remove from the front to the sides. We're keeping the train's length.

Here's the back of the train - beautiful!

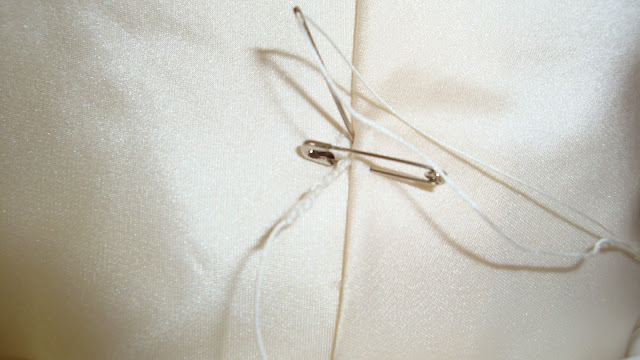
These are the safety pins that marked where we want the length to be. I actually had the excess length pinned upward. I then remarked with more safety pins and released the first set of pins.

I detached the hair braid and made some chalk marks for cutting.

Satin fabric cut.

I reattached the braid on the satin.

This shows the lining being cut.

I basted the lining back to the satin to prep for machine sewing.

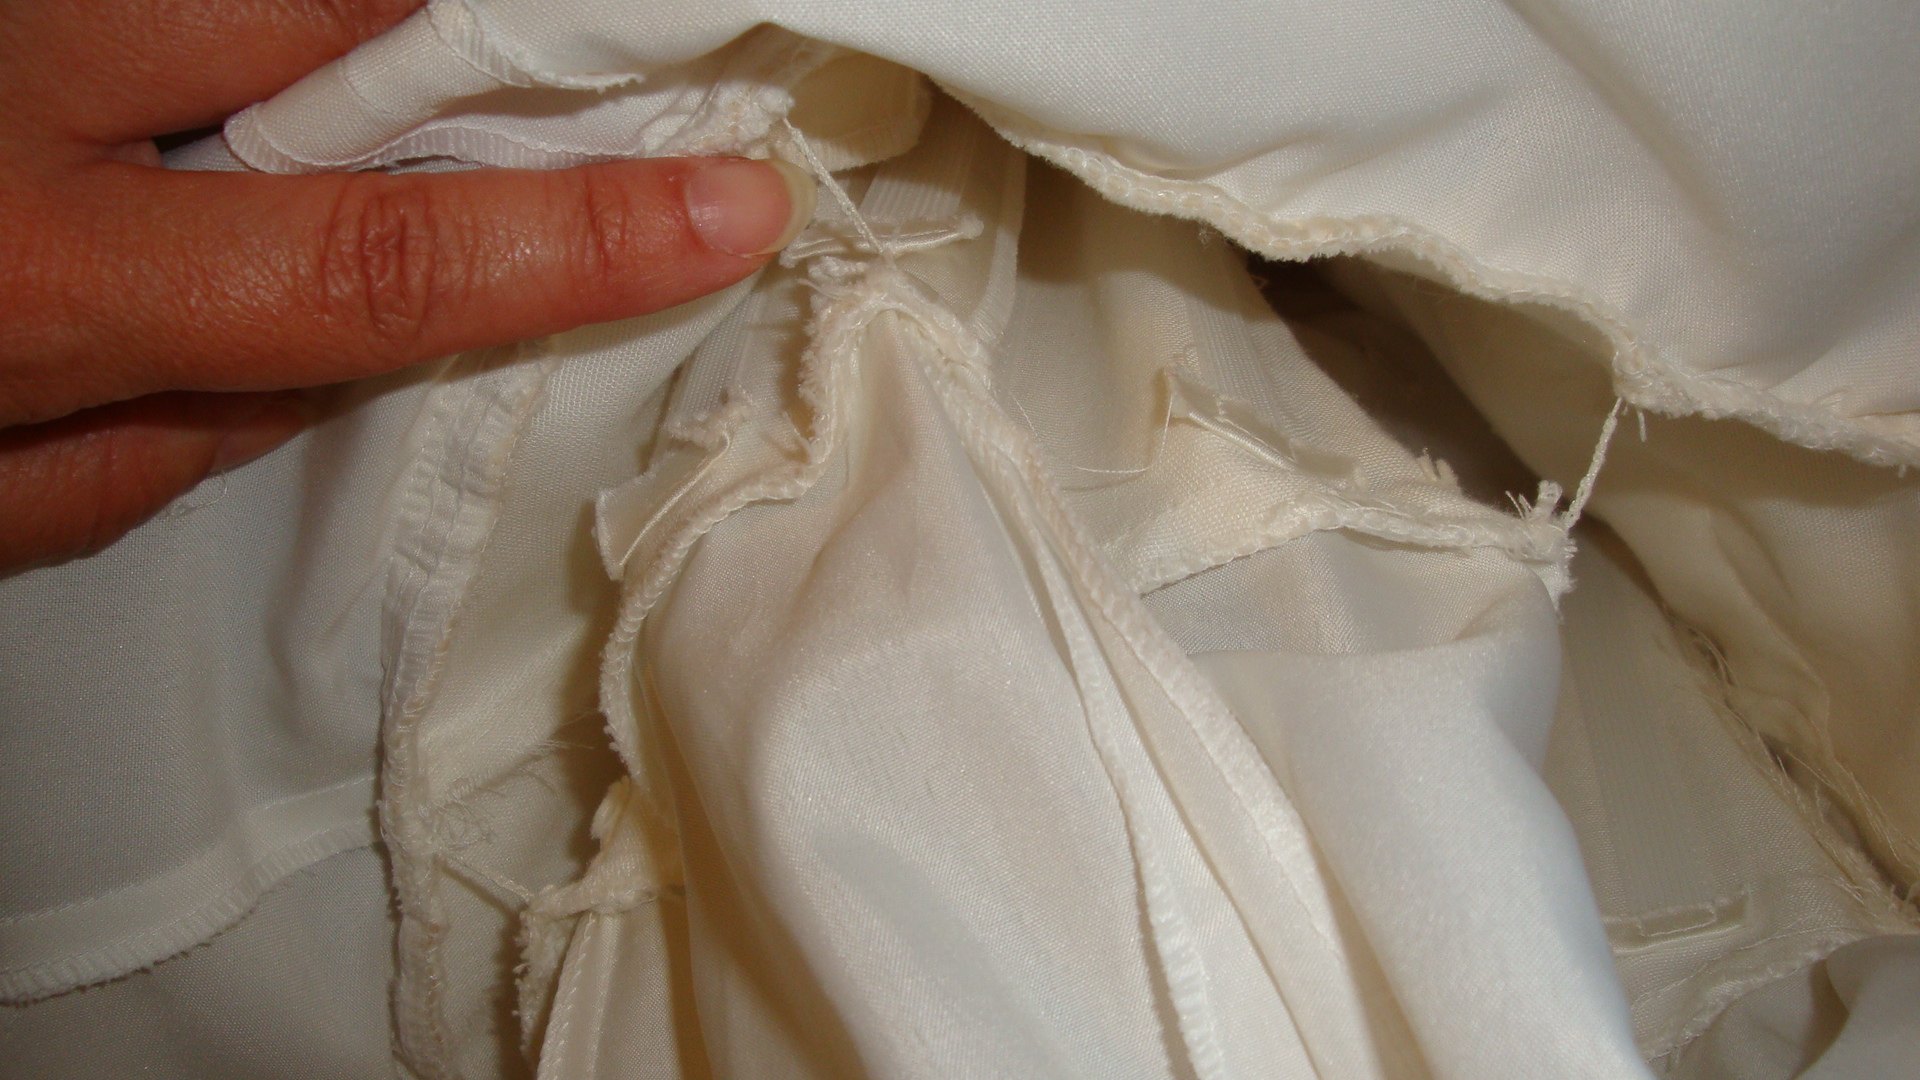
This is the opening in the lining where I gain access to the inside. Since this gown had the lining attached to the fabric, it will go back the same way.

Machine stitched the lining to the satin fabric.

Another shot of machine stitching through the lining to attach the hair braid.

This gown also had a second lining with hair braid. Here I'm removing the braid with my seam ripper.

Detaching hair braid. I already had my blue chalk marks in place for the new hem.

Cut, turned hem and pinned on hair braid.

Reattached hair braid.

Secured hair braid at the top with more stitching.

Pinned up lining and closed with machine stitching.

Hand sewed thread chains at the seams underneath to keep the skirt together.


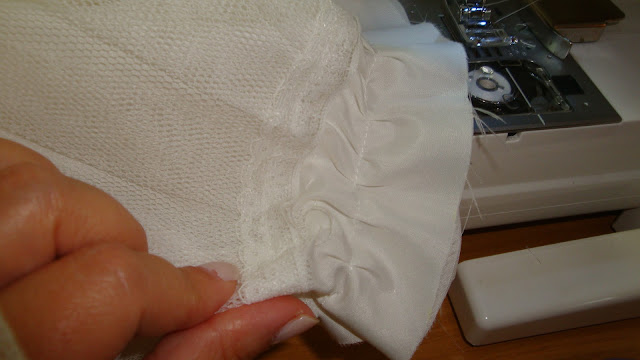
Here's the top part I trimmed.

Reattached with machine stitches.

I was not concerned about the ruffles this made as I was stitching. No one will see this, only the bride knows (and you!) I planned to cover it bias tape.

Here is the light blue tape I used to cover.

There were 2 layers of tulle that I trimmed with scissors.

Cara wanted pockets added to her gown. Here, I created a basic pattern.

Pocket pieces cut out.

Pocket pieces stitched around the edges.

Here I am hand basting the pockets to seams I opened up. We determined the pocket locations while she had the gown on.

Stitched on.

Finished shot of pocket.

Next finished shot of pocket.

She wanted an over bustle. This is a 3 point over bustle. Here I marked with safety pins by bustle points.

Side shot of the bustle.

I hand sewed thread chains in each point for loops. I sewed hooks at the waist to hang the loops.


Post a Comment